Welcome to the Major Project of my BSc Product Design degree. Throughout this project I will highlight some of the key moments and design decisions I made, I hope you enjoy!
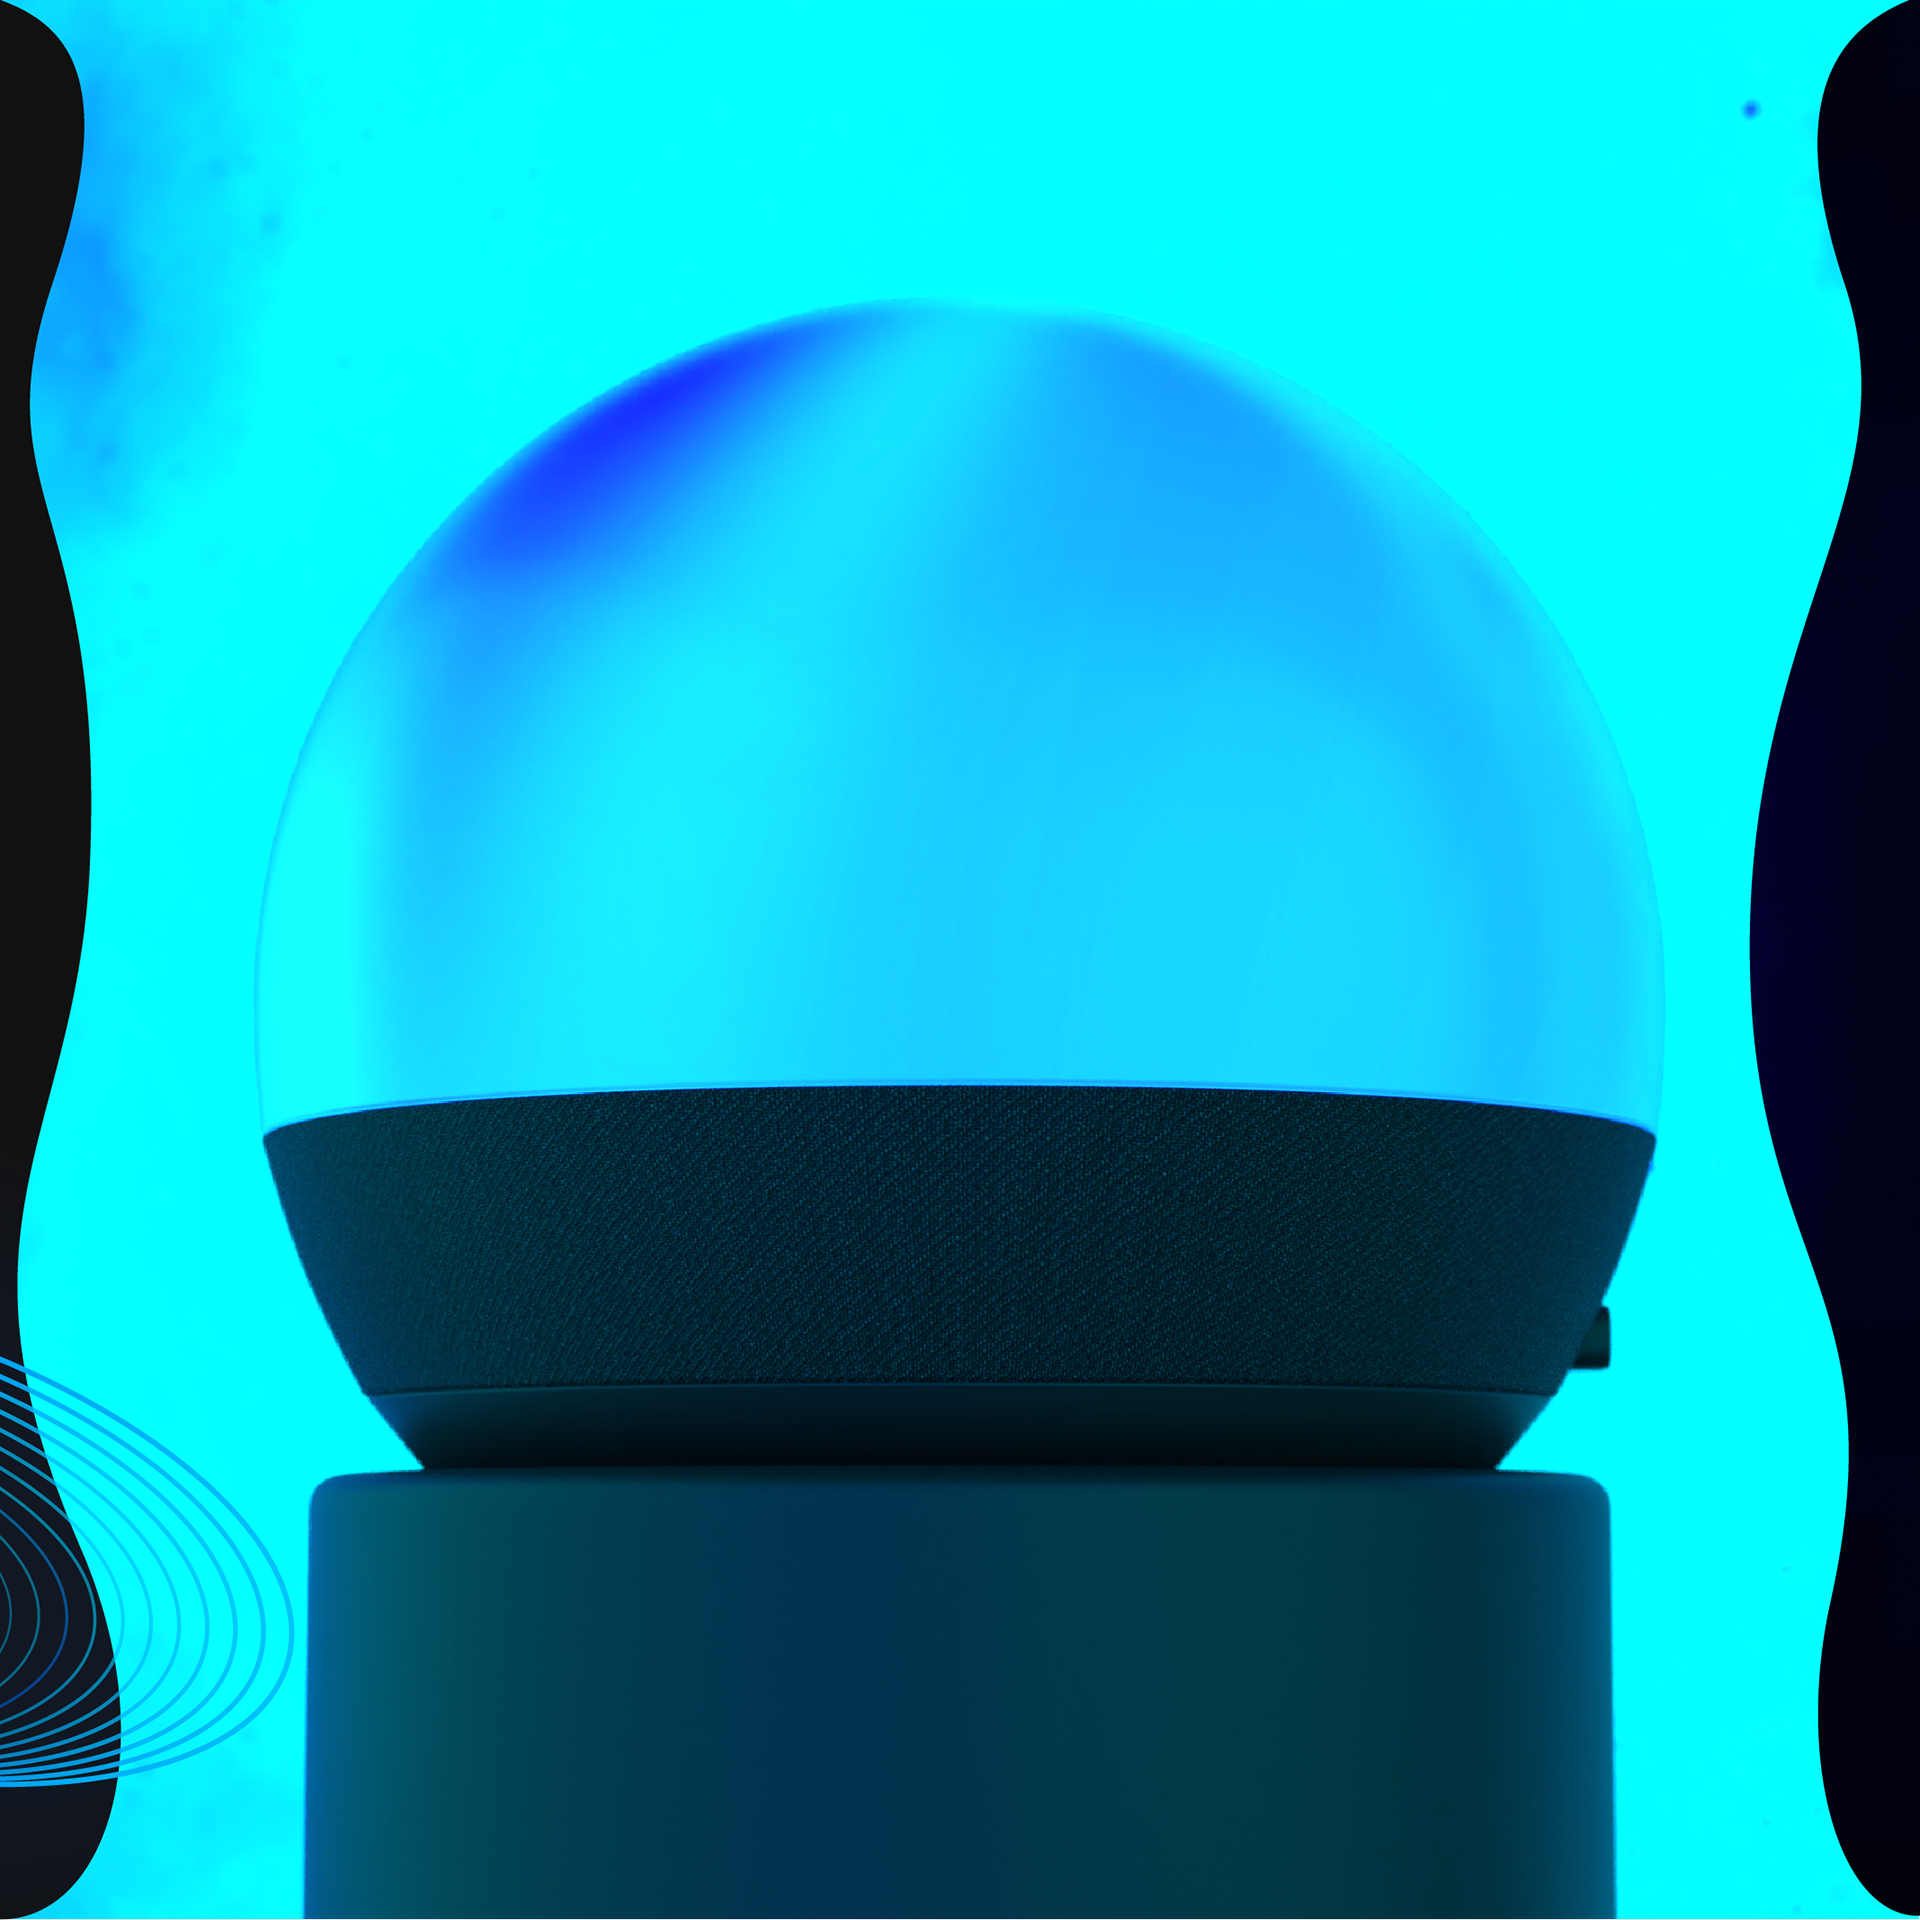

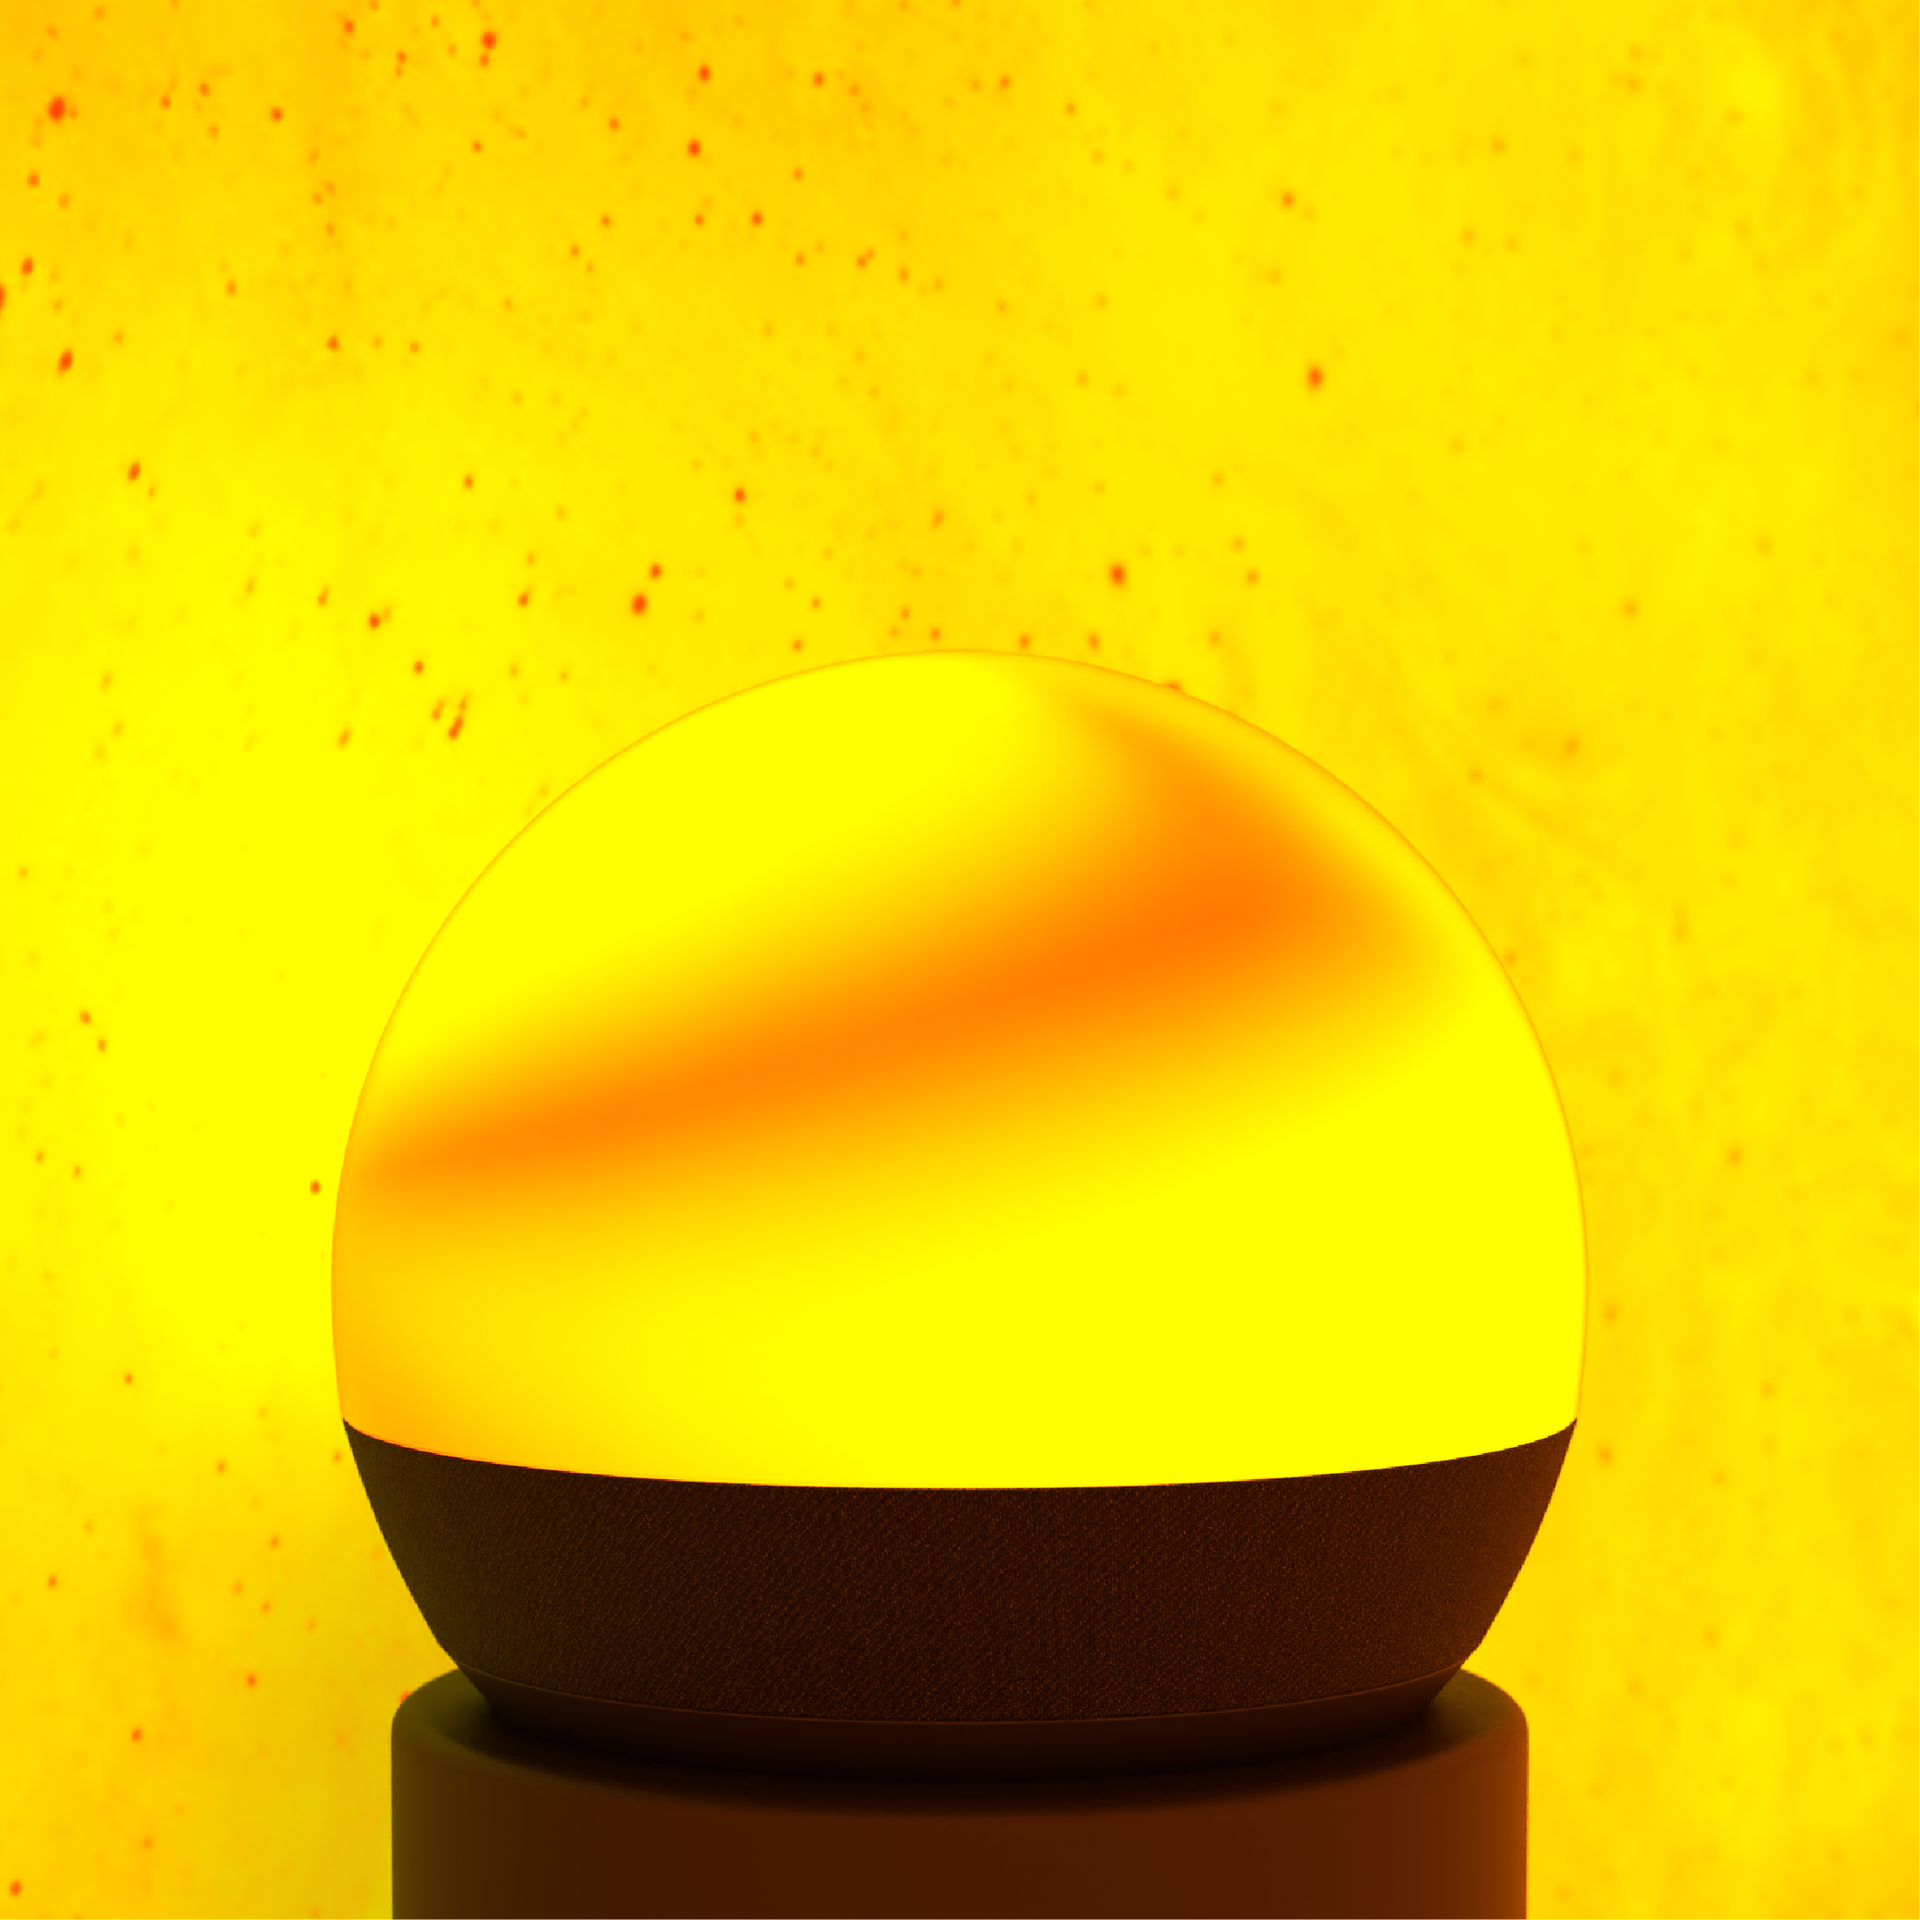
Lets start by answering some main questions!
What is Lumina Flow?
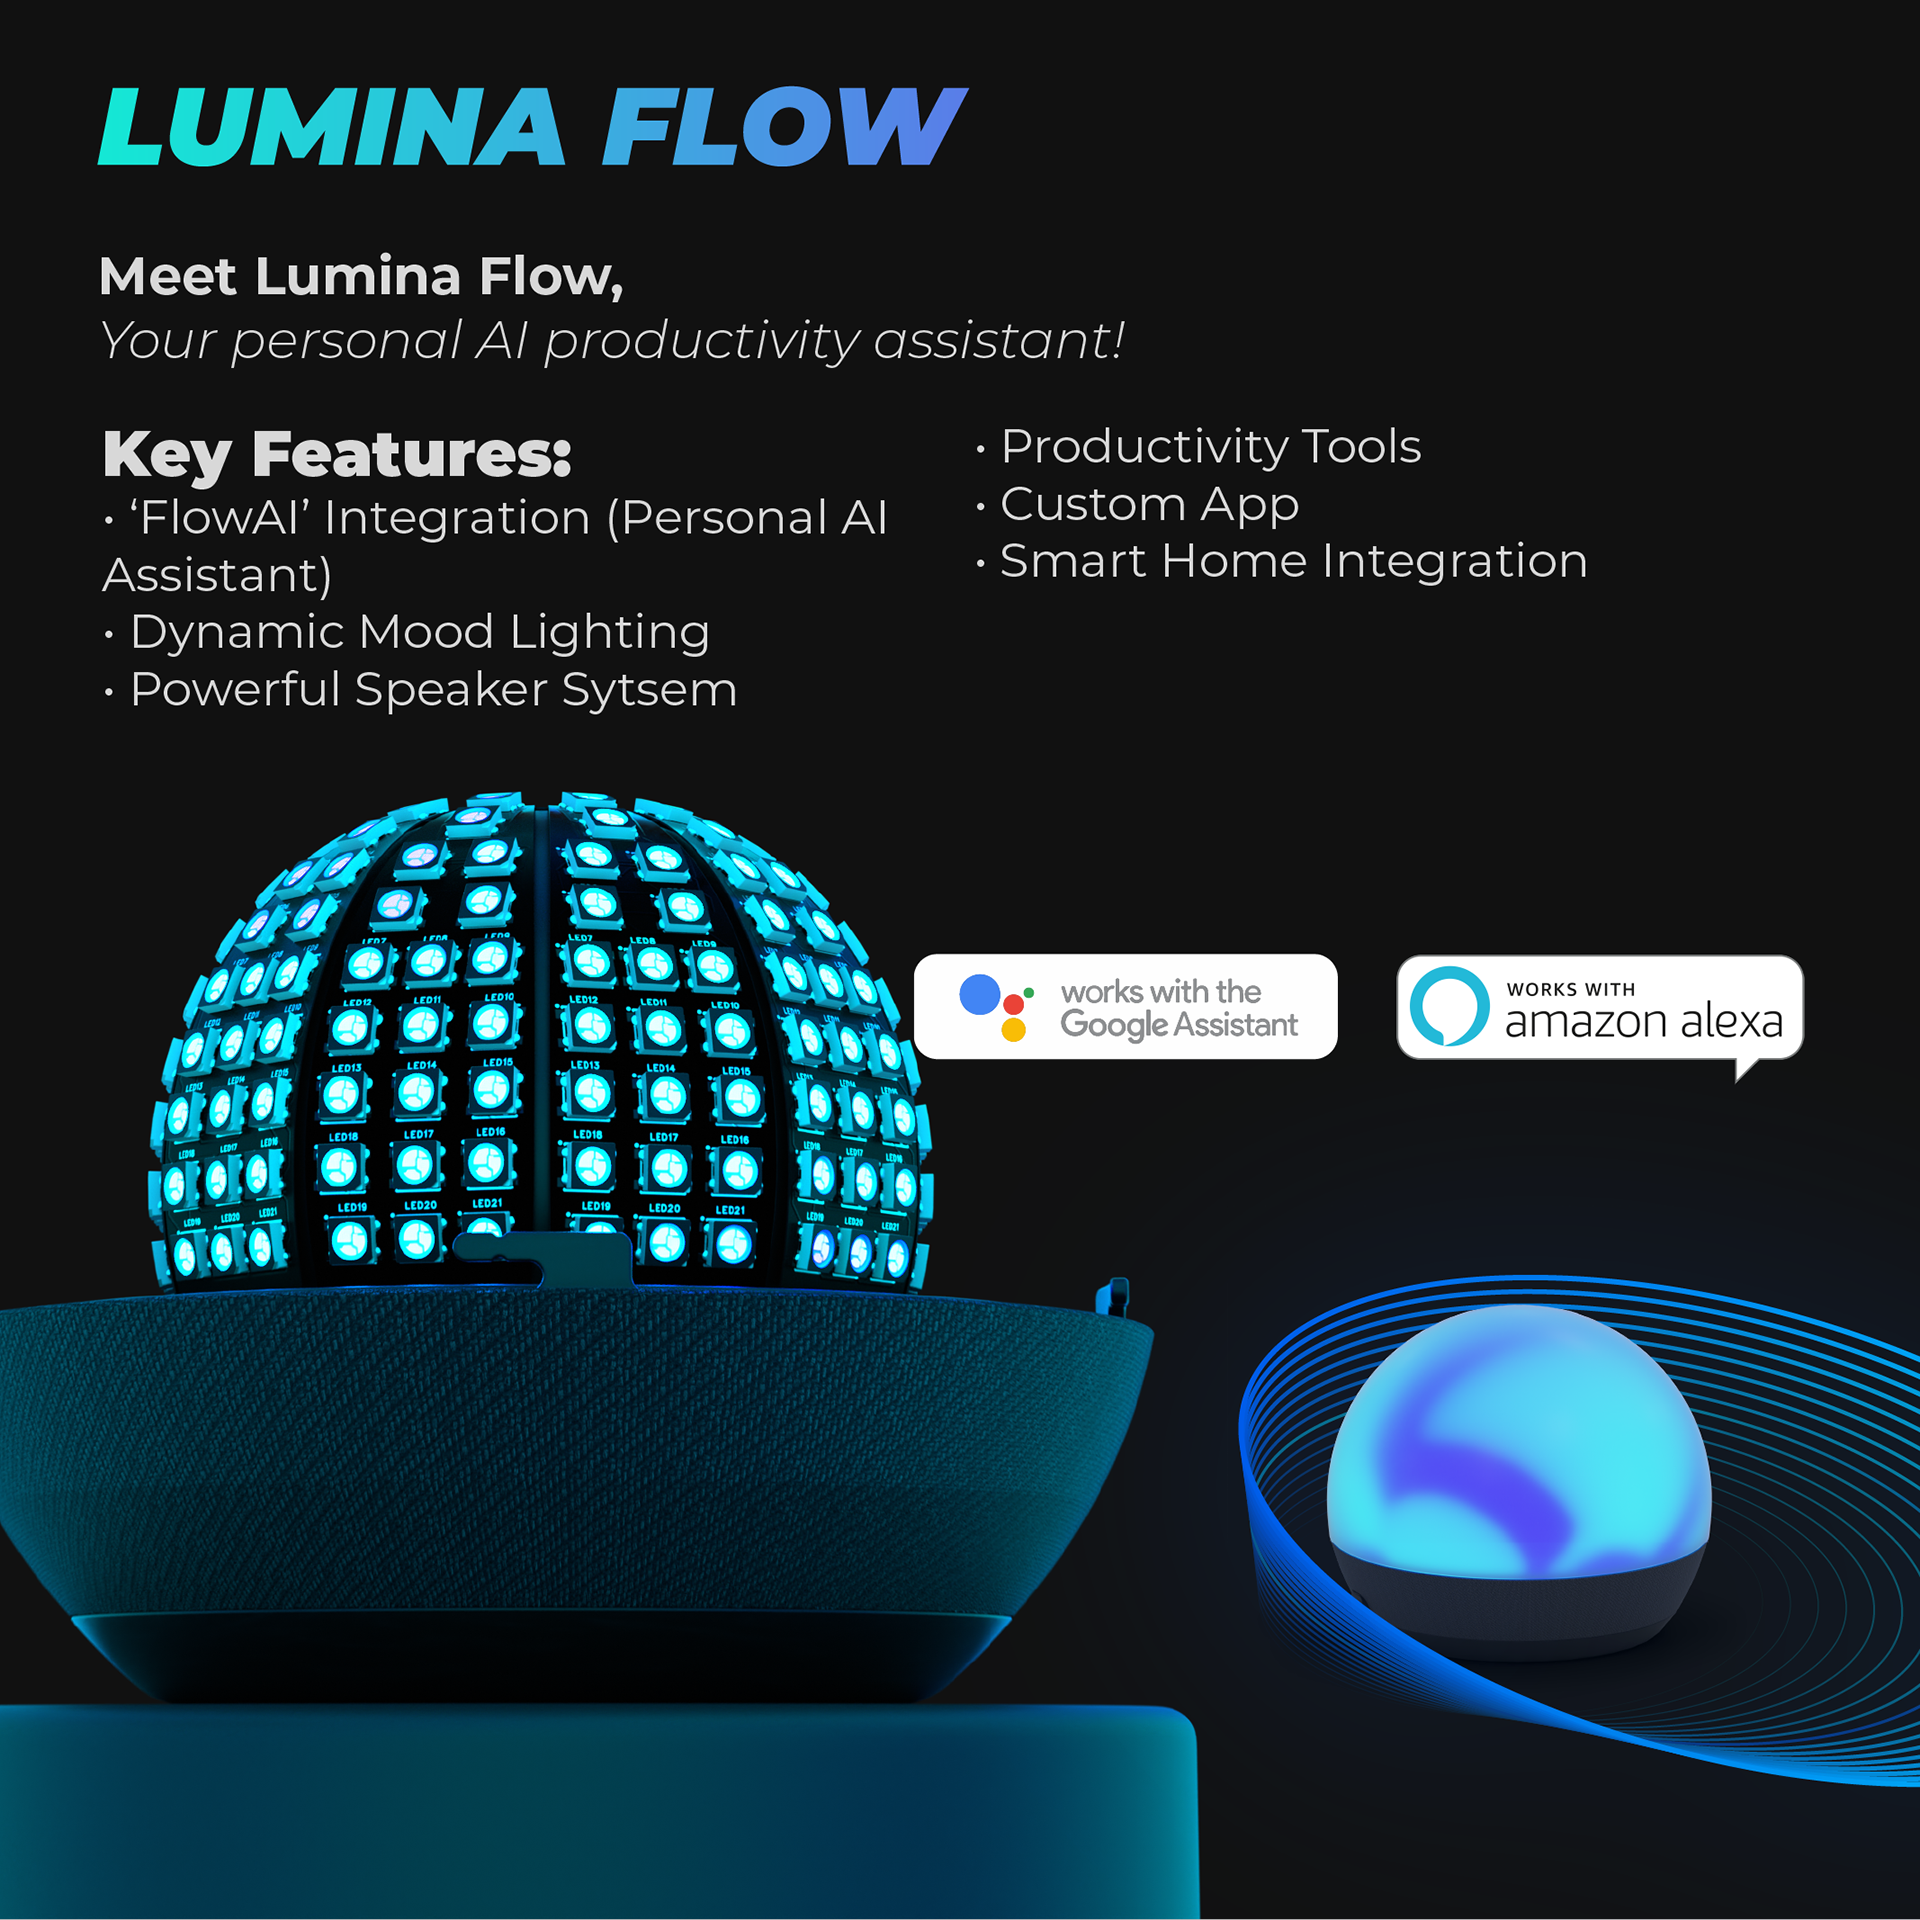
Lumina Flow is an innovative AI-powered assistant designed to enhance productivity and ambiance in the workplace.
It features ‘FlowAI’, a voice-activated assistant similar to smart speakers like Google Home and Alexa, but with a more personalised touch.
The focus of Lumina Flow is its custom-designed flexible spherical display, capable of producing fluid gradient animations, creating a calming and productive desk environment.
Why is it needed?
Lumina Flow addresses the growing demand for smart, ambient lighting solutions and leverages advanced AI technology to offer a unique and valuable tool for today’s remote and desk-based workers.
As AI technology evolves and grows rapidly, it is important for us to stay updated with this technology and grow, ourselves, alongside it and not against it.
FlowAI was invented for this purpose, offering users with a far more advanced personal assistant than google home or alexa devices, this product offers advanced and personalised functionality to its users, allowing them to stay ontop of their busy schedules and increase productivity.


Why did I choose to design a spherical display?
I was deeply inspired by the Las Vegas Sphere, a groundbreaking structure that has sparked a surge in the popularity of spherical displays. The complexity of such designs has historically limited their use in commercial products. I aimed to challenge this norm by creating a more accessible, cost-effective spherical display.
My research consistently pointed to a key psychological insight: the shape of an object significantly influences how it is perceived emotionally. Studies in psychology indicate that rounded shapes, such as spheres, tend to evoke positive emotions and a sense of comfort. In contrast, angular shapes are often linked to alertness and tension. Leveraging these psychological associations, I envisioned a display that not only captures attention but also creates a calming and welcoming environment.
By combining these elements - technical innovation inspired by the Las Vegas Sphere, and the positive psychological impact of spherical designs - I sought to design a unique, user-friendly product for the market.
How did I design the display?
Initial Proof of Concept: Test Rig
For my initial proof of concept, I constructed a test rig using nine identical LED strips, each adhered around a 3D-printed sphere. This setup featured a total of 45 LEDs. The construction process was quite challenging due to the delicate and intricate wiring required, but it successfully demonstrated the desired effect.
However, through the diffusion, I noticed highlights and dark spots caused by gaps between the LEDs. To address this in my next iteration, I plan to at least double the number of LEDs per sphere. This enhancement will not only increase the overall brightness but also improve the smoothness and fluidity of the animations.
Internal Assembly
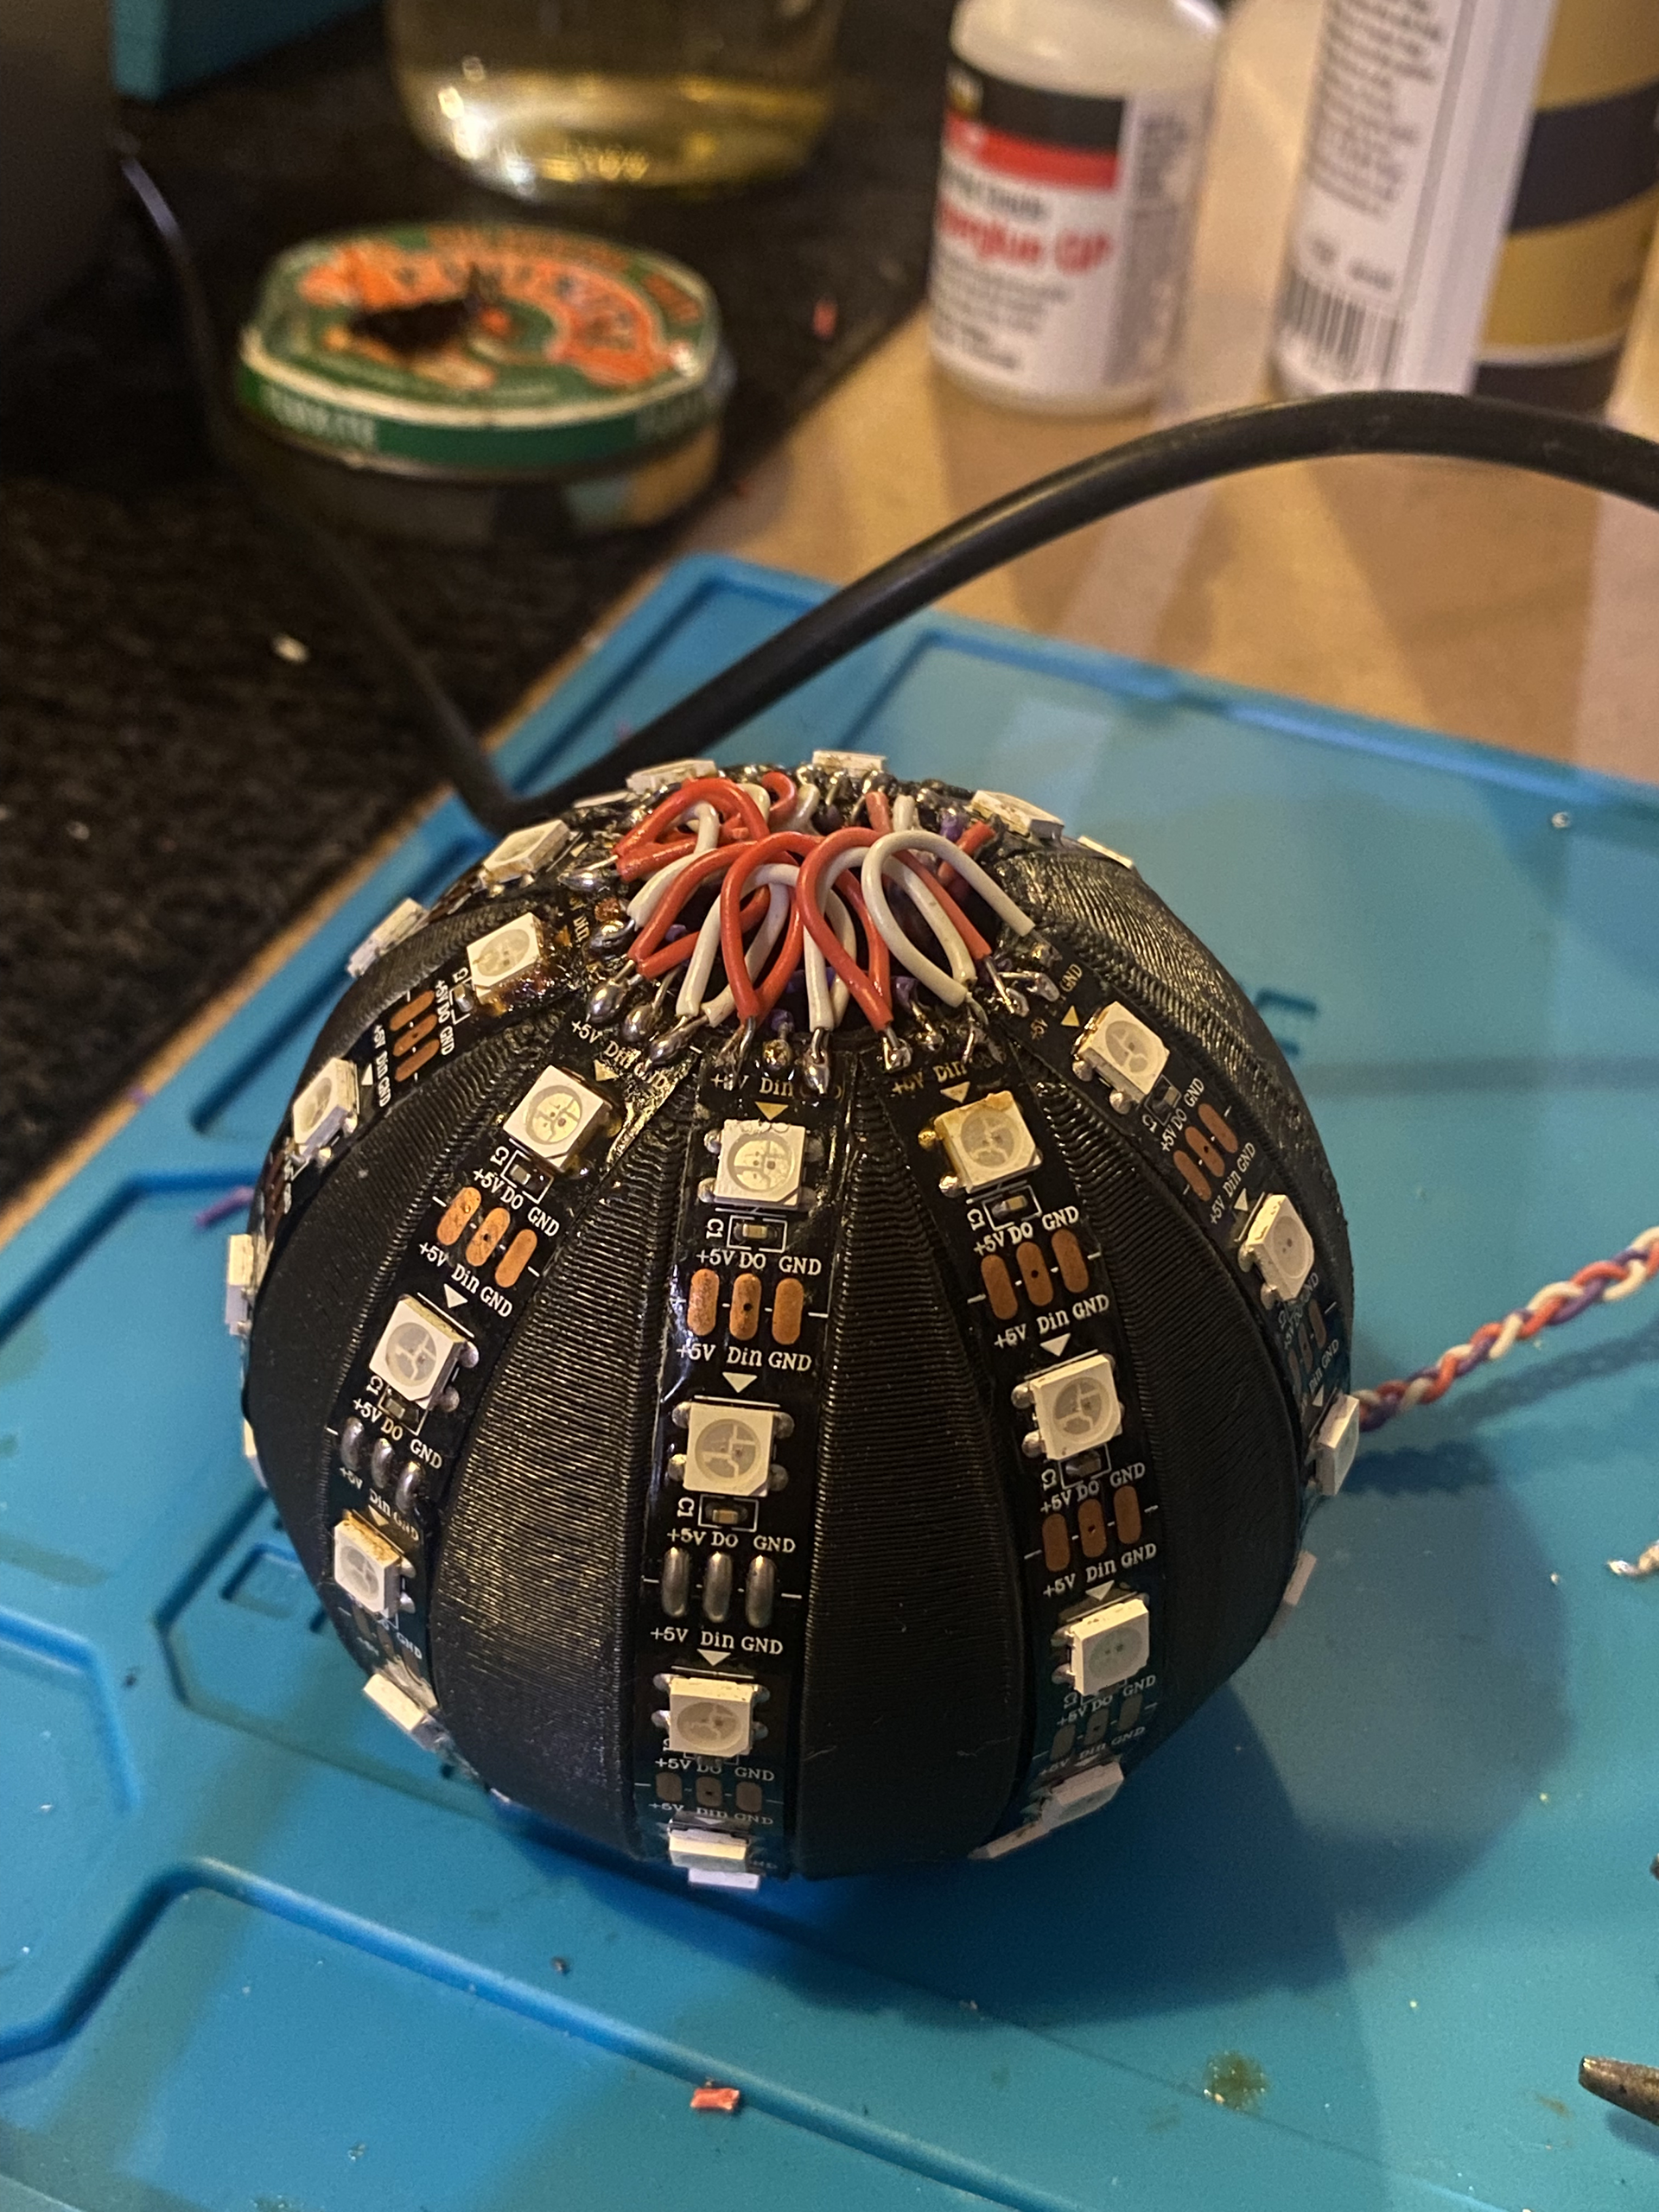
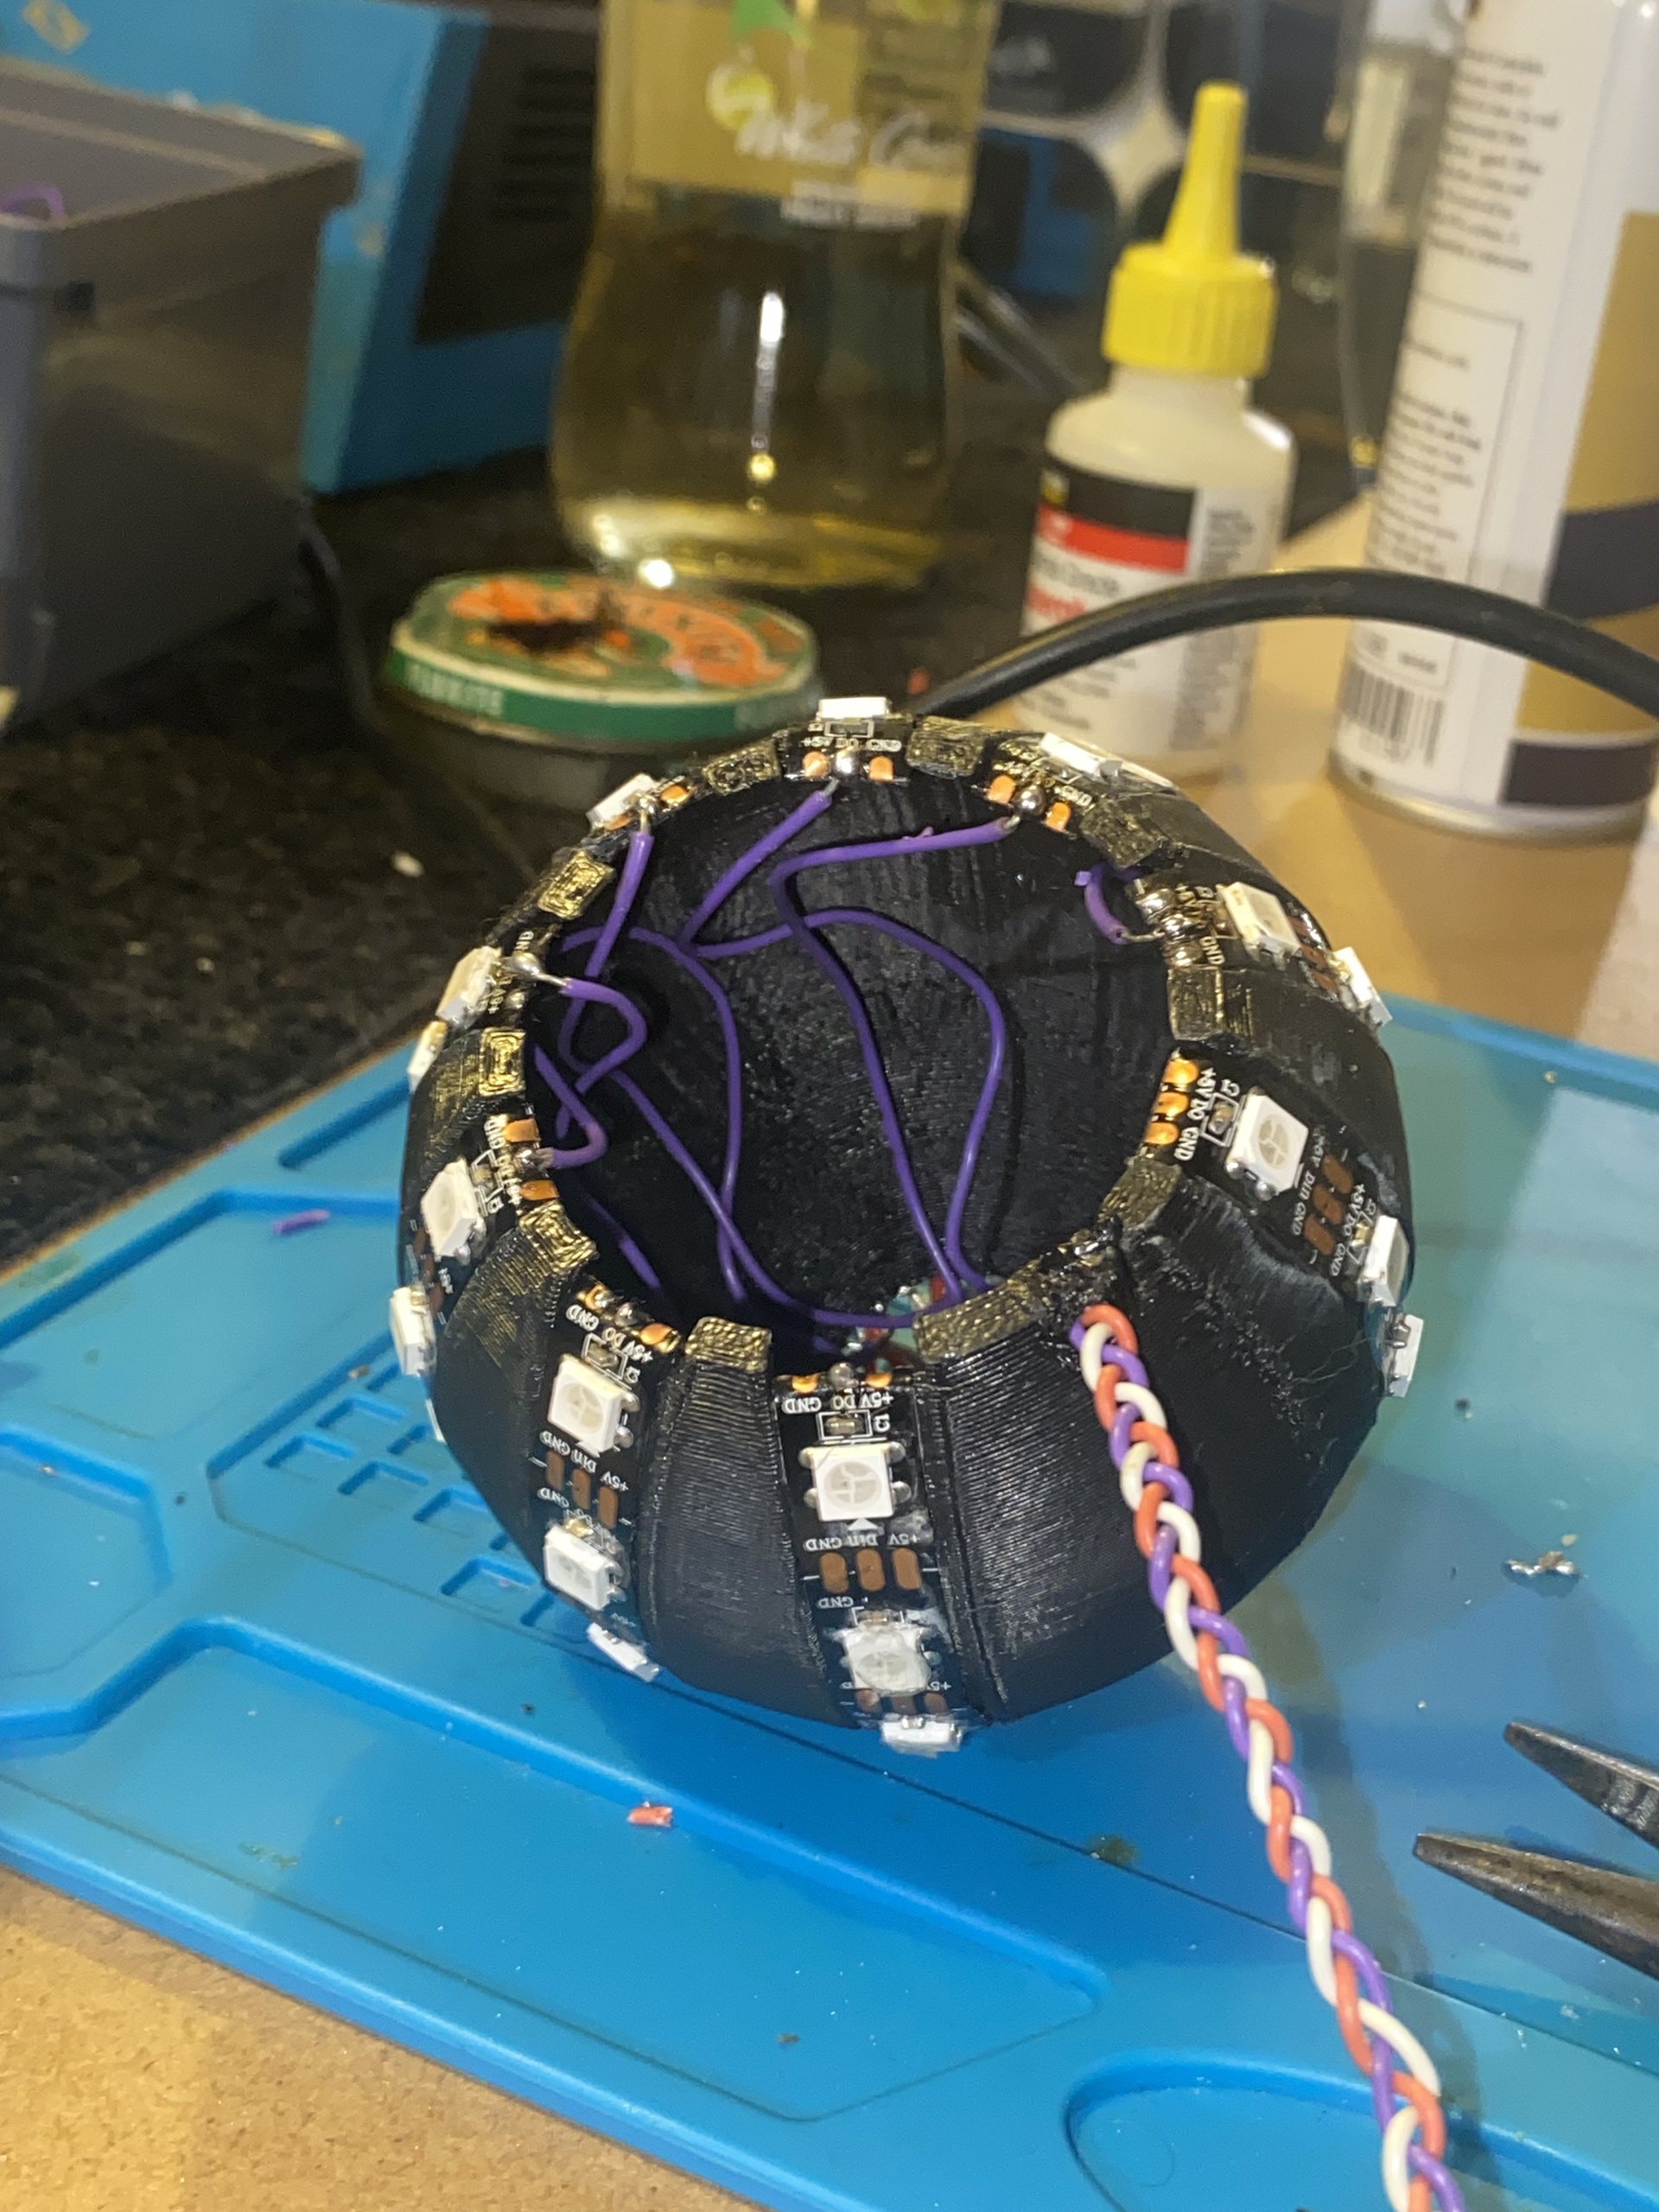

Full Initial Prototype
Designing for Commercial Viability
To create a design that would be commercially viable, I recognised that using a printed circuit board (PCB) was essential. I experimented with various designs and configurations, considering different quantities and sizes of LEDs. Ultimately, I chose a balanced approach that optimised both cost and pixel density, settling on a design that incorporated 210 LEDs per PCB.
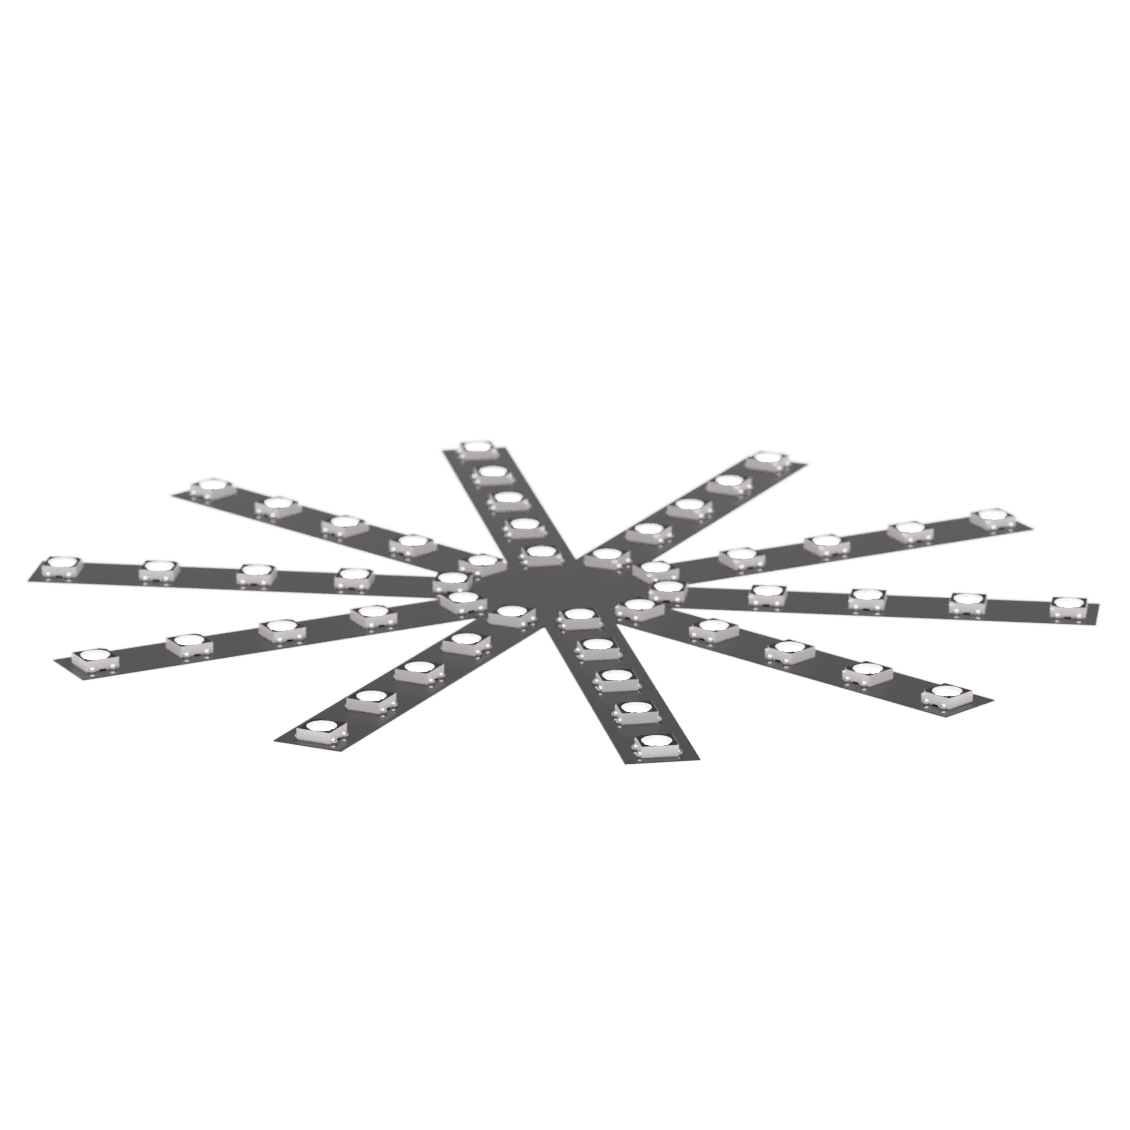
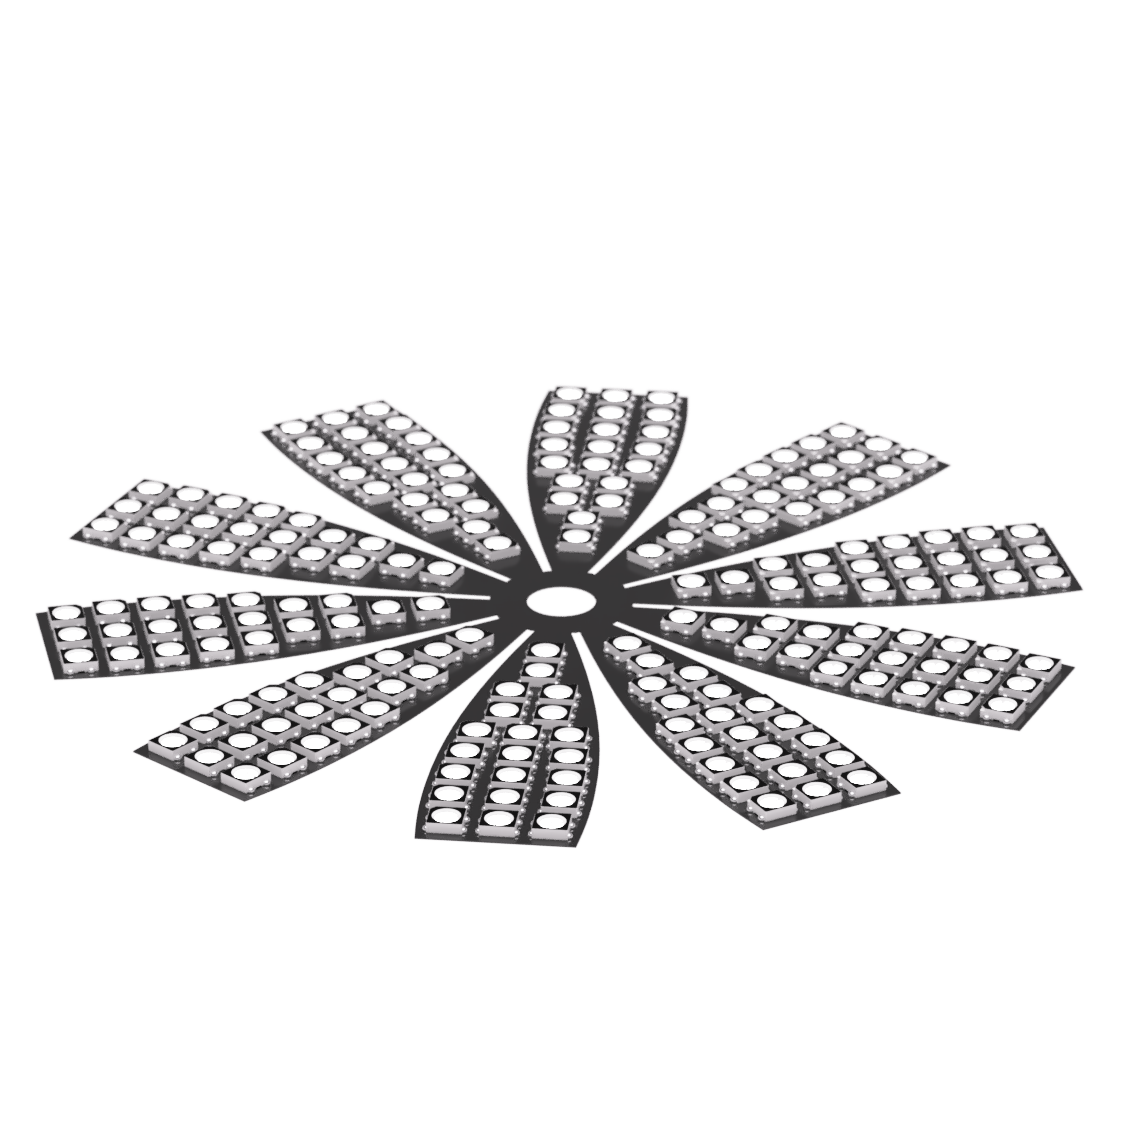
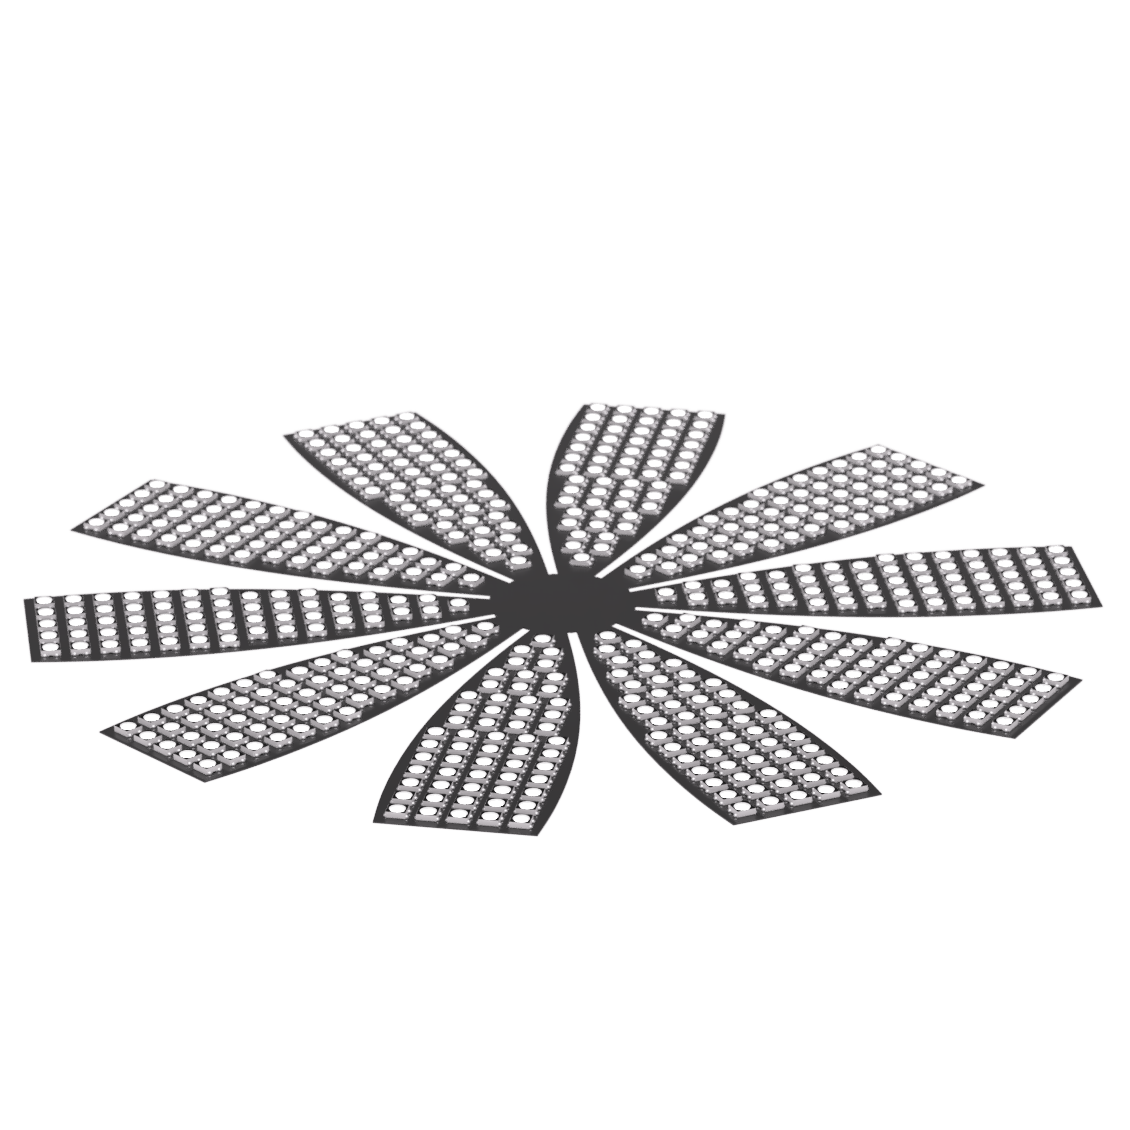
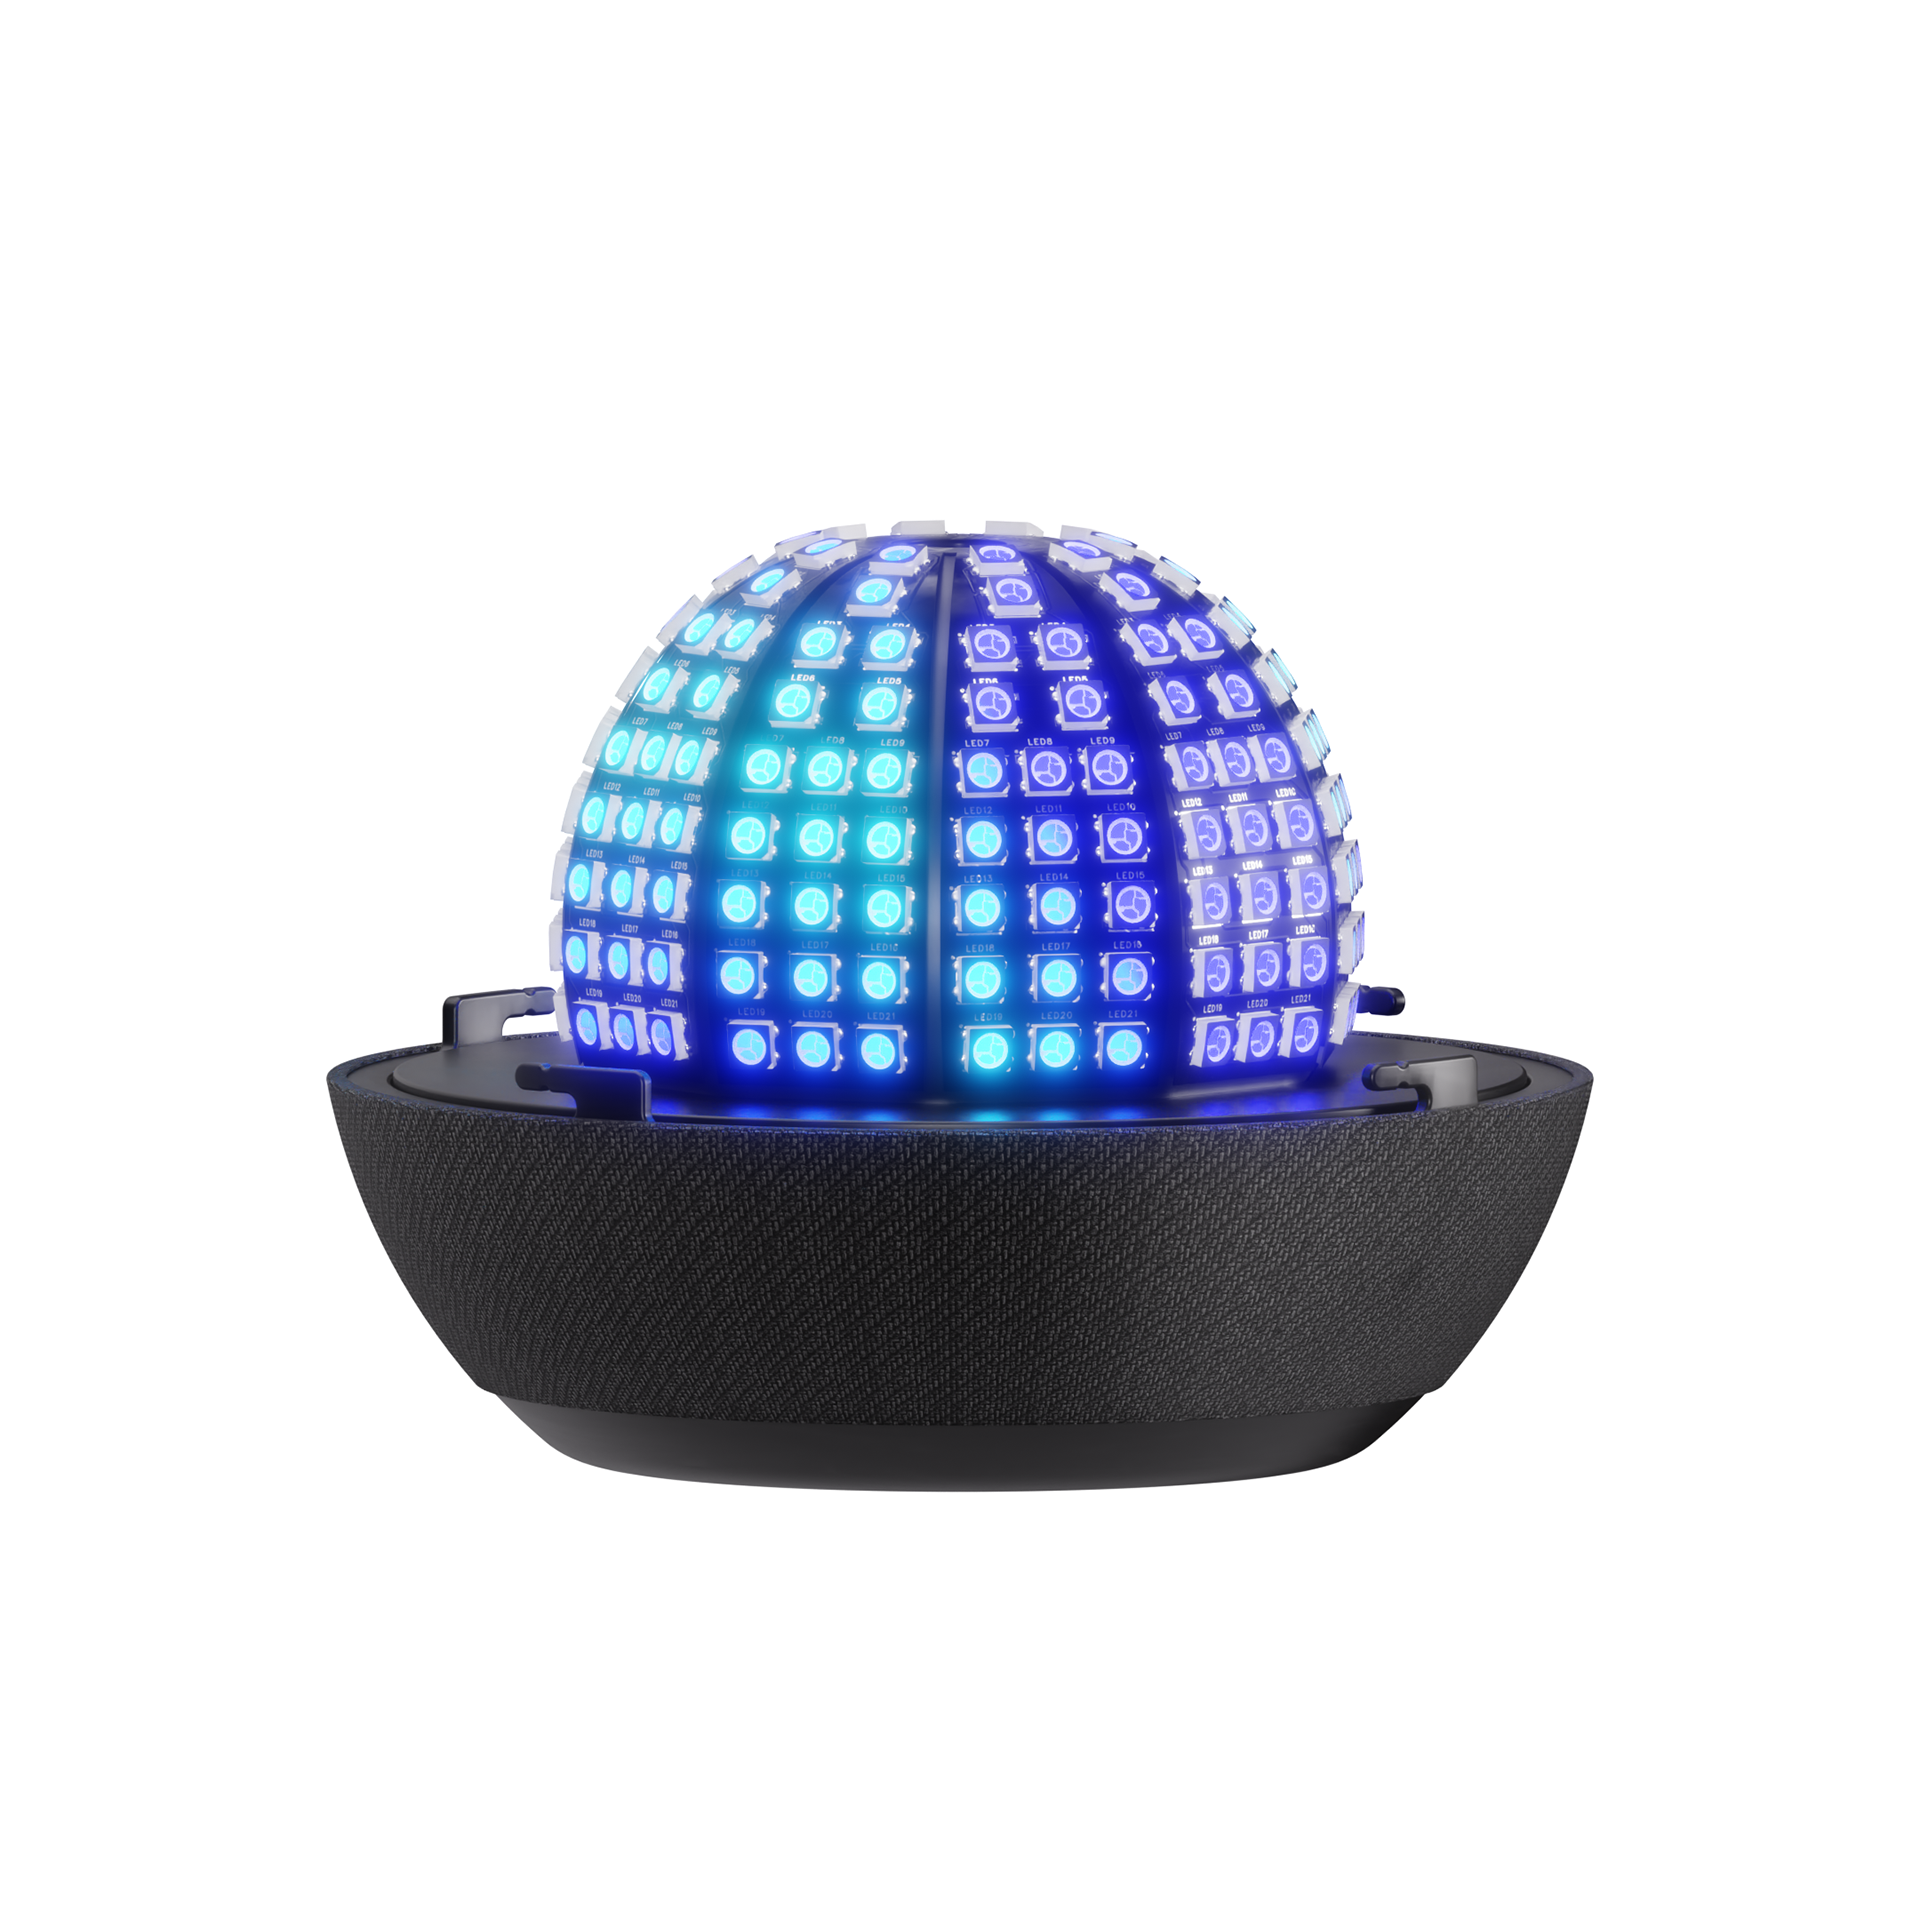
The design utilises a Flexible PCB (FPC) equipped with surface mount LEDs (WS2812B LEDs). This flexibility allows the PCB to be folded over an internal structure, as illustrated in the images below.
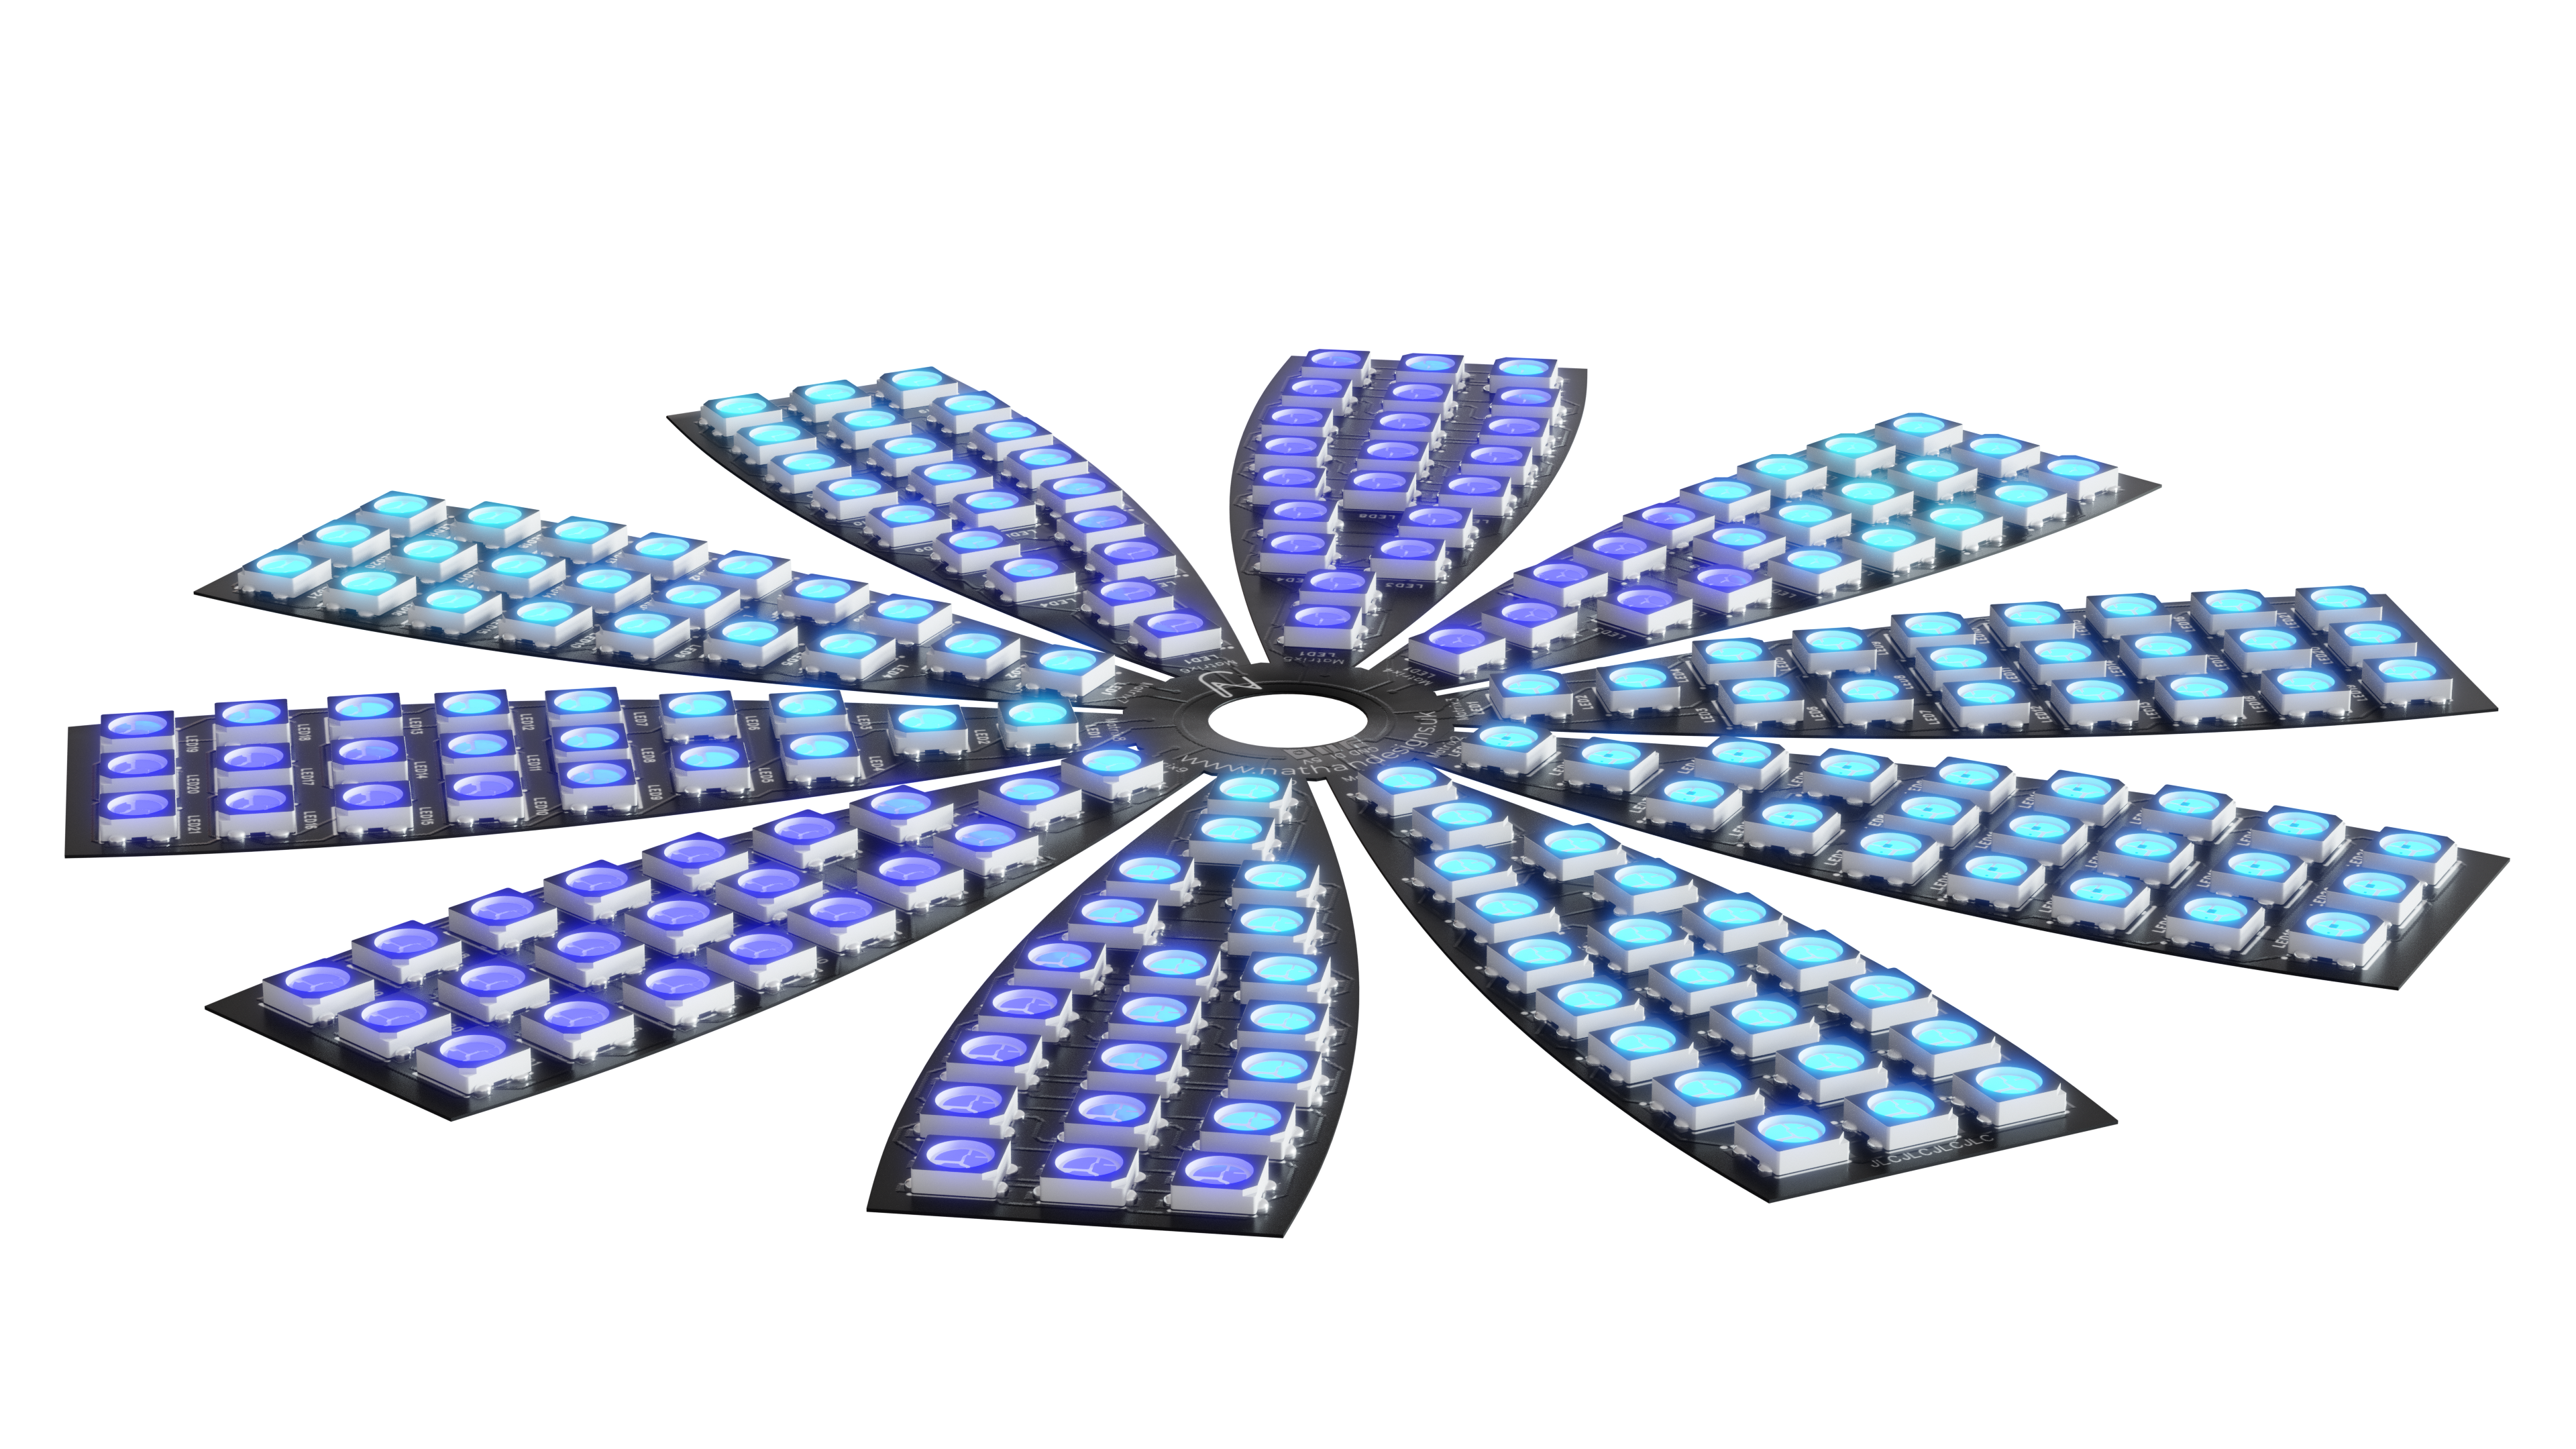
How does it work?
The PCB is made up of 10 individual matricies that are all connected in series with one another. The image below shows how the matricies are wired together. As you can see in the PCB, and images above, there are less leds towards the top than there are at the rest of the matrix, this is to compensate for the sphere and its curvature, this keeps the distance between all of the leds even and regular.
I made a custom .gap file that tells the system which leds are 'virtual' (non-existent), and which ones are physical (real). This step is crucial in calibrating and aligning the display to play smooth and seamless animations.
The image below shows one side of the PCBs layout, this shows all of the data, power and ground connections. I placed a power ring on the top and bottom of each PCB that connects each matrix to either ground, or live, ensuring each matirx has the same distance from the power source, this helps distribute power evenly.
The data line starts at the first LED and runs through each led subsequently. This does mean that if one LED is faulty or breaks a connection, every LED after it will also stop working, however this does help to identify where the fault is coming from and makes it easier to fix.
Assembling the PCB
I opted to assemble the LED's by hand instead of getting them automatically assembled during the PCB's manufacture using a pick and place machine. This saved on costs but would not be reccomended for assembling any more than 5 PCBs due to the amount of time it takes to assemble.
Final Prototype
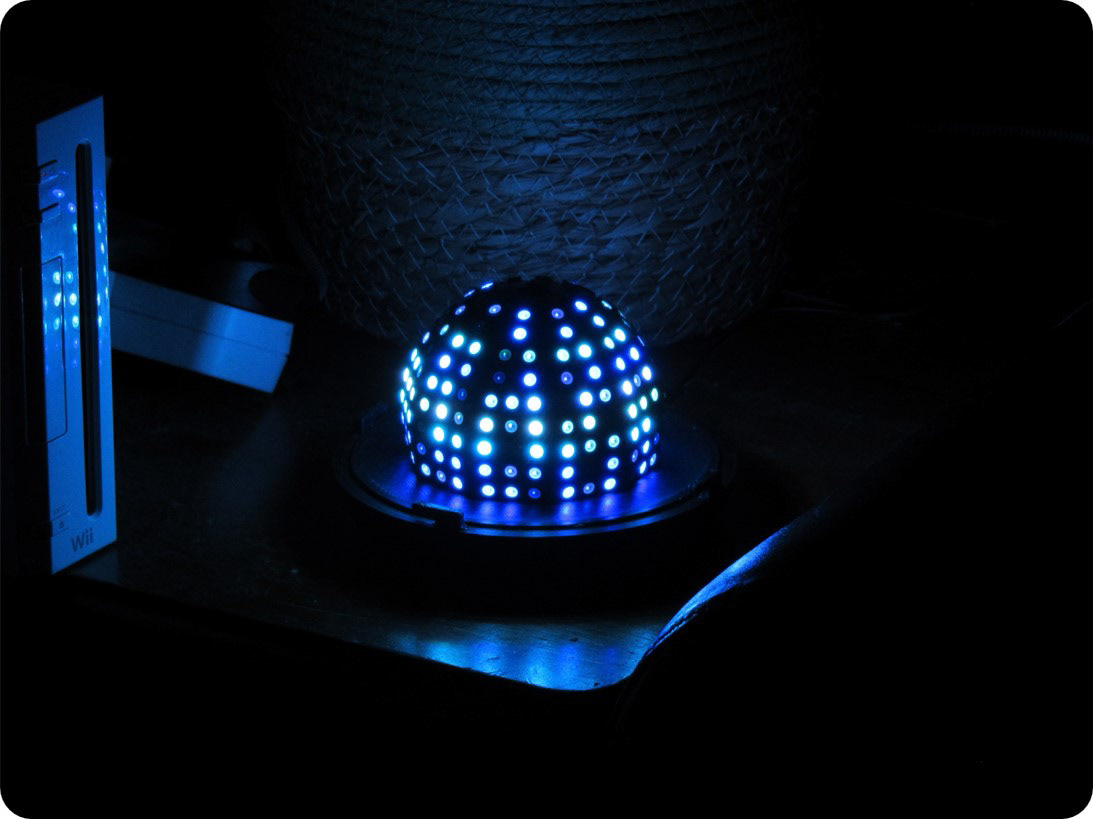
Below you can see the Final Prototype with the custom built 'Spherical Decagonal Pyramid' LED Dome Display along with the included electronics and 3D Printed housing.
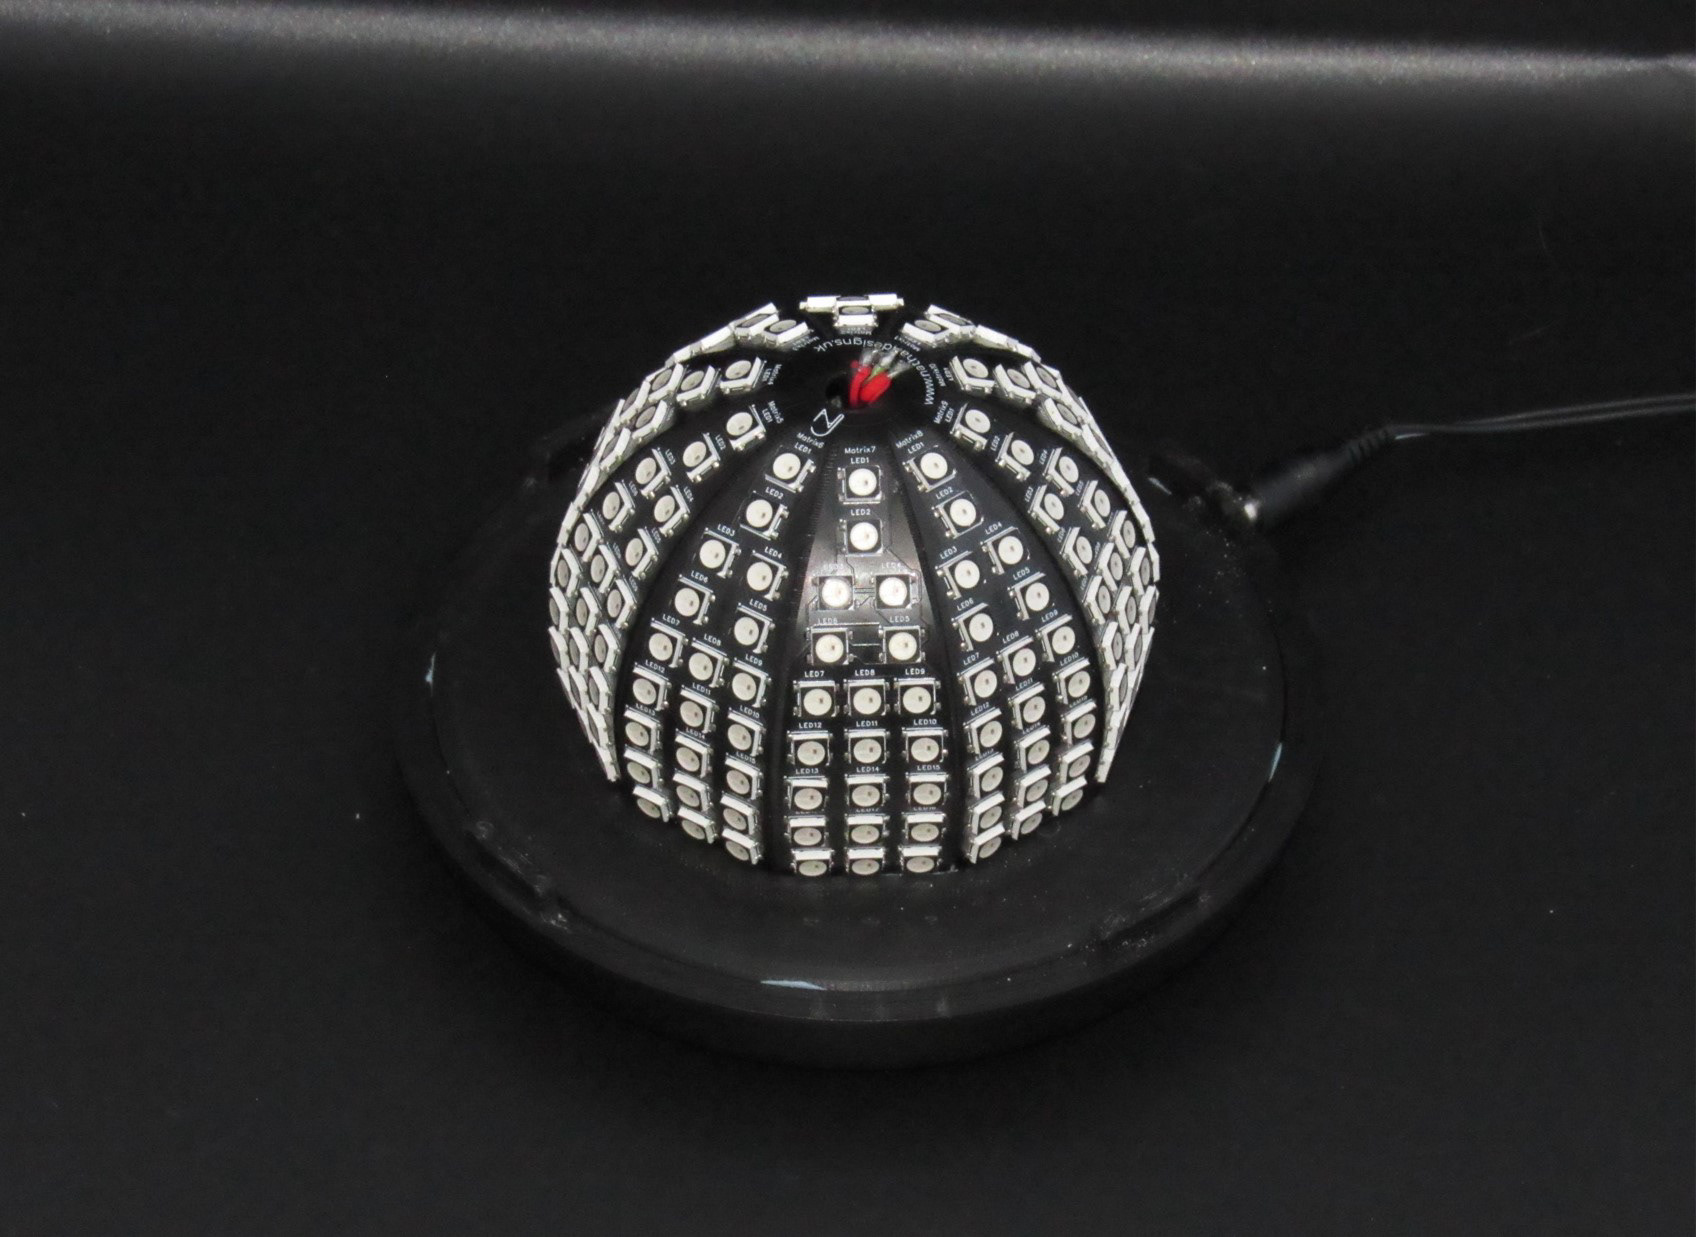
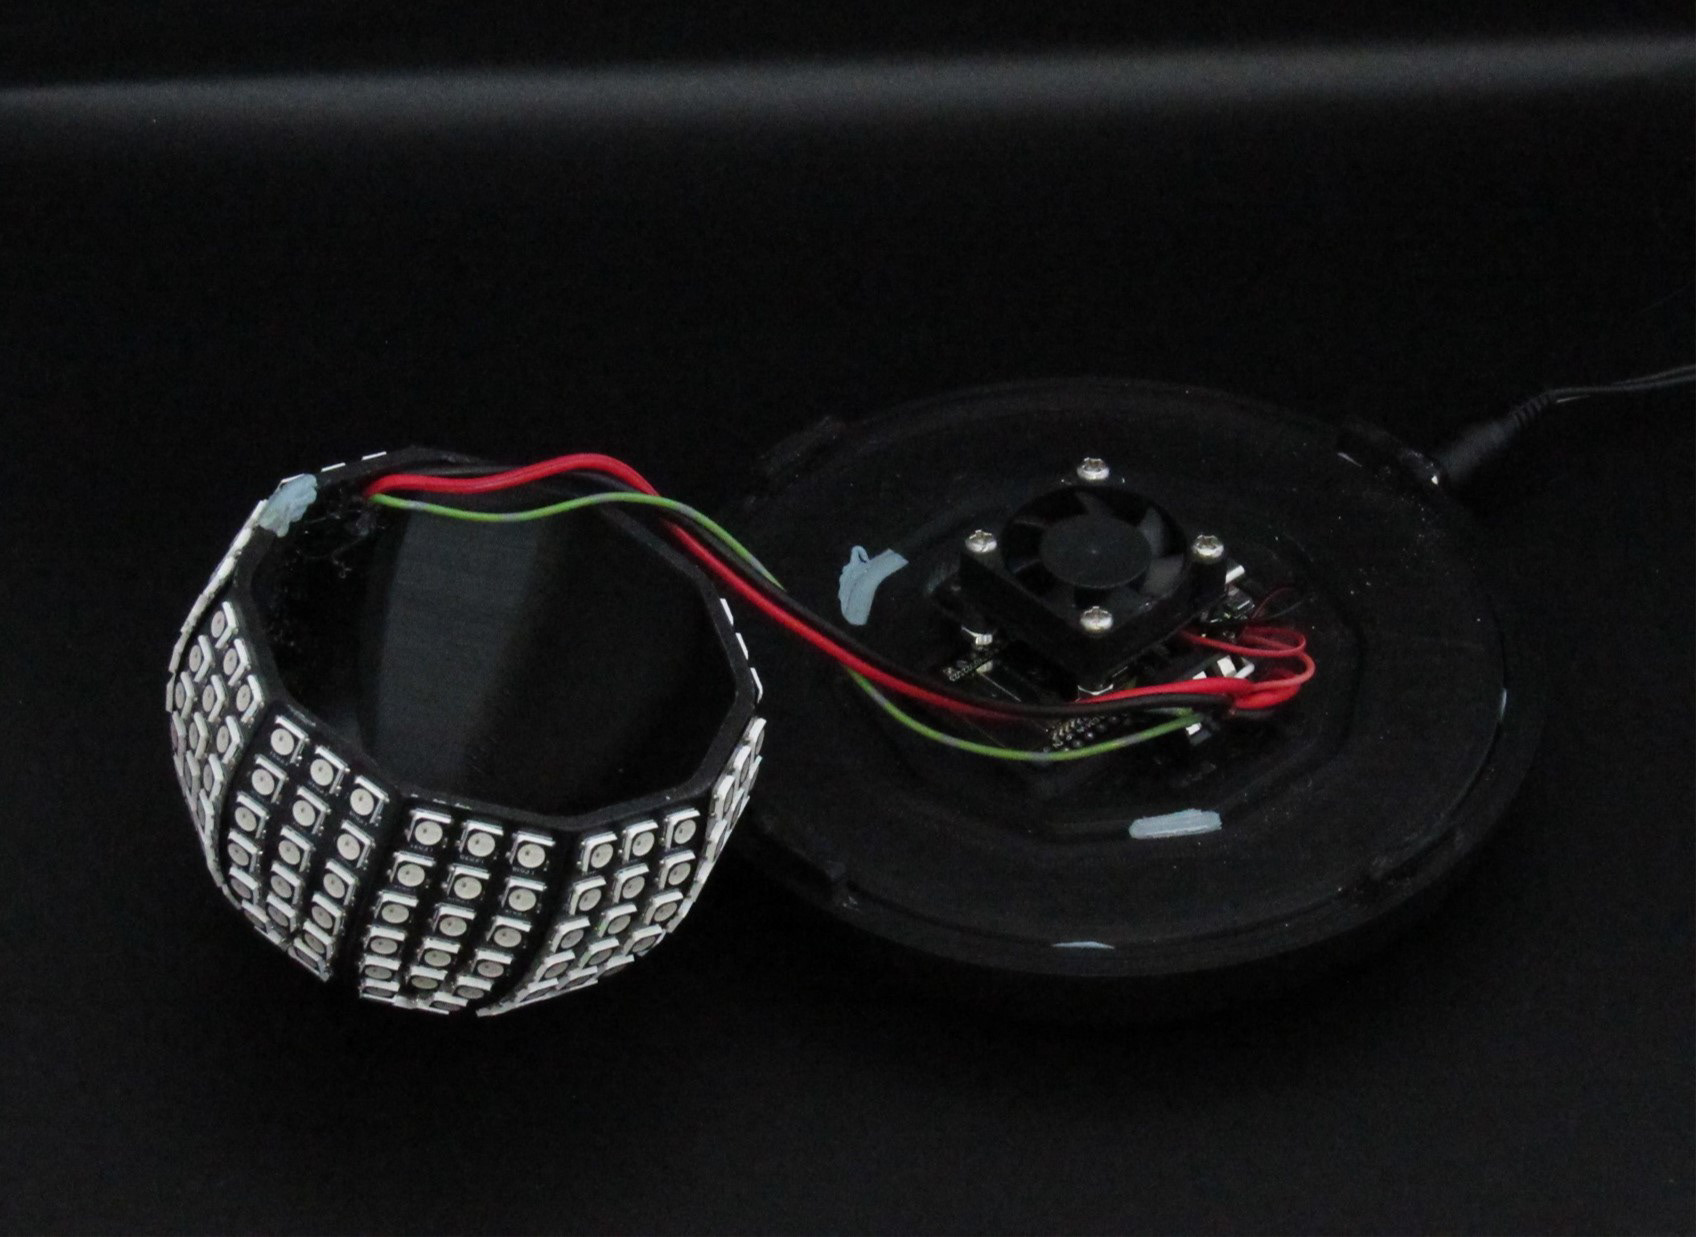
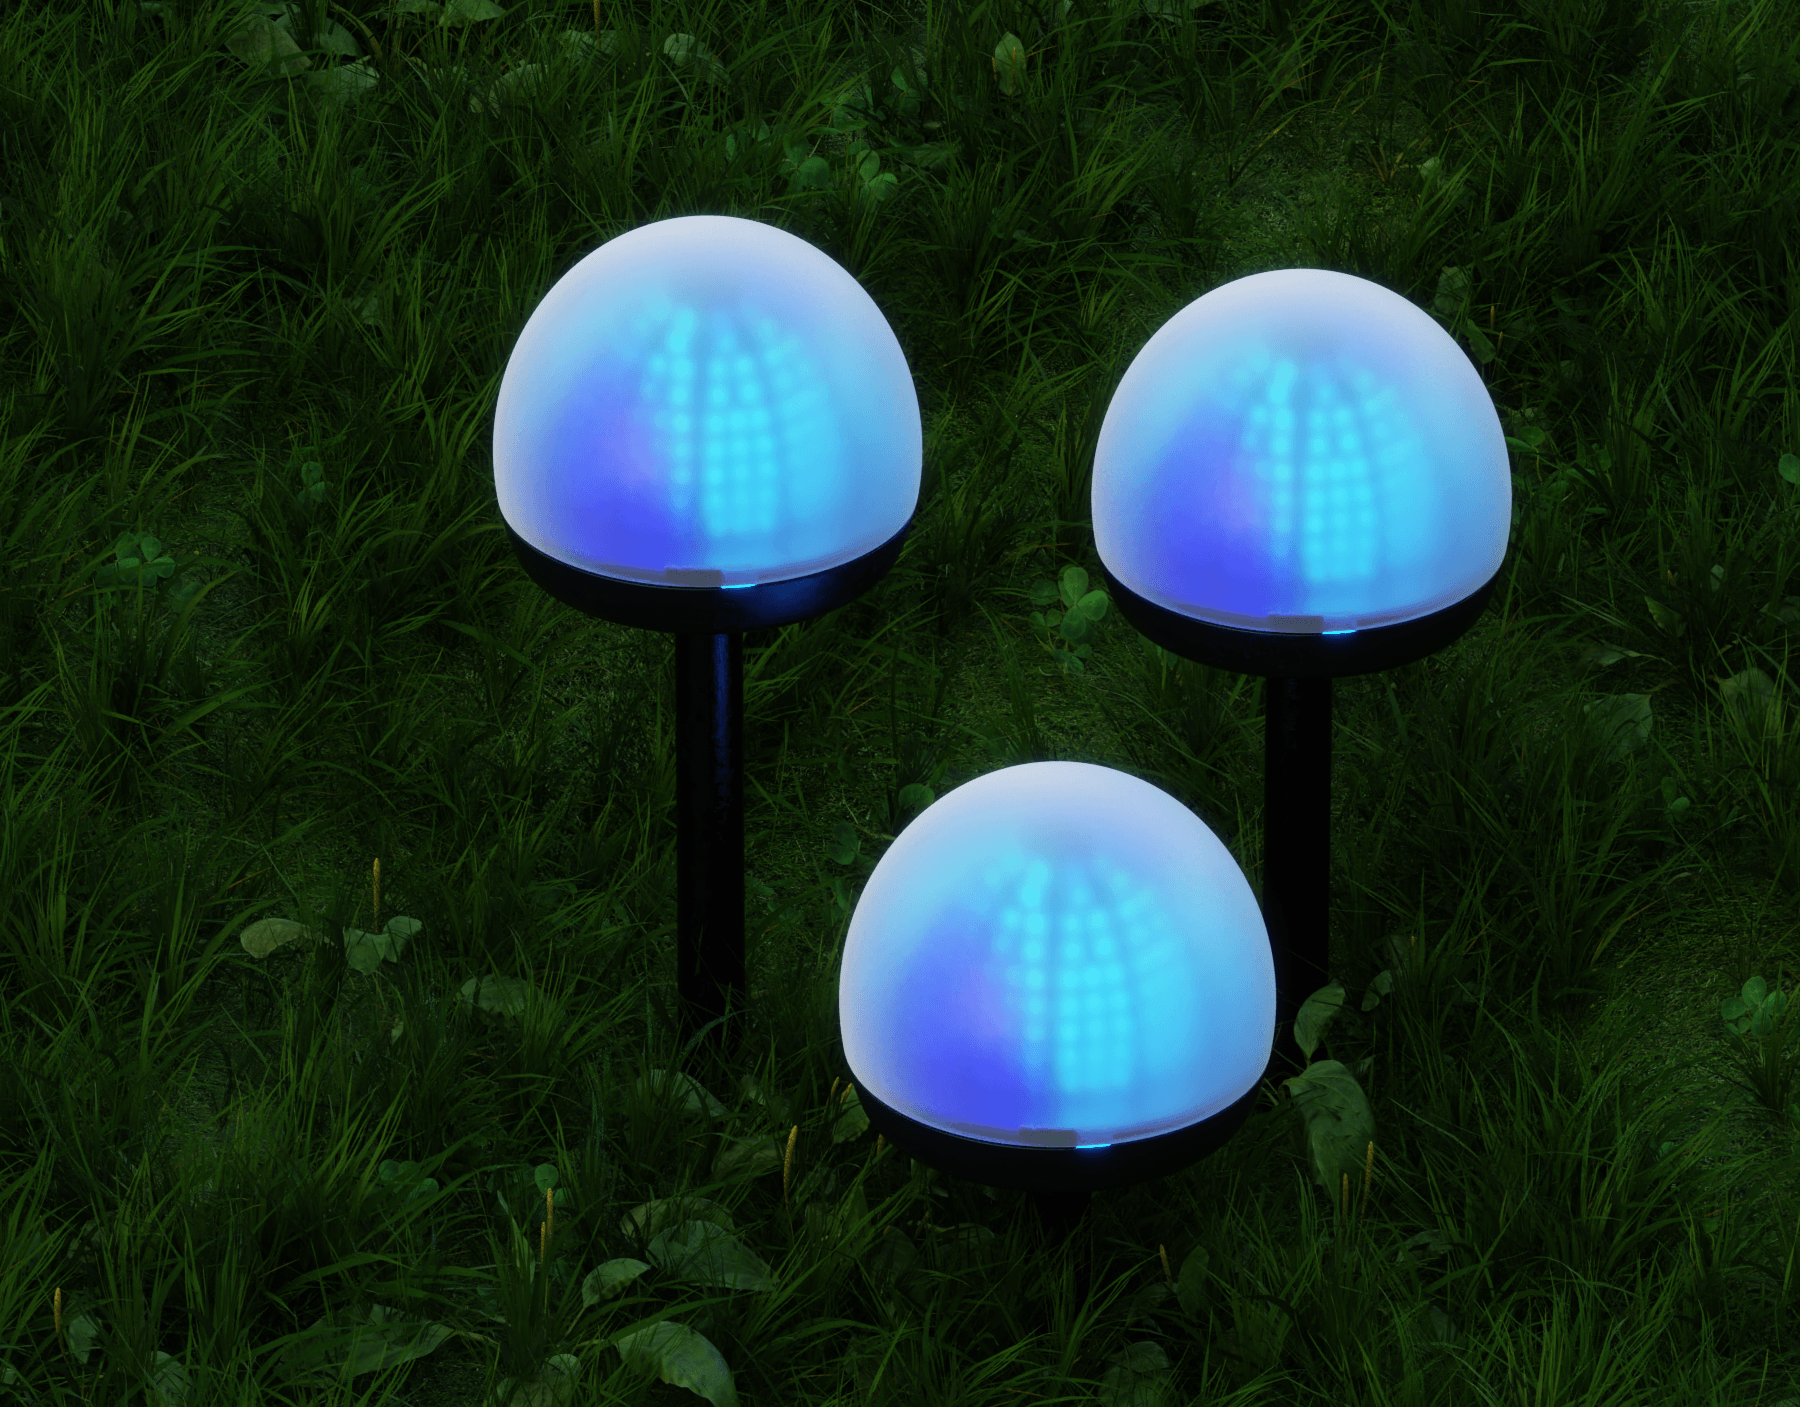
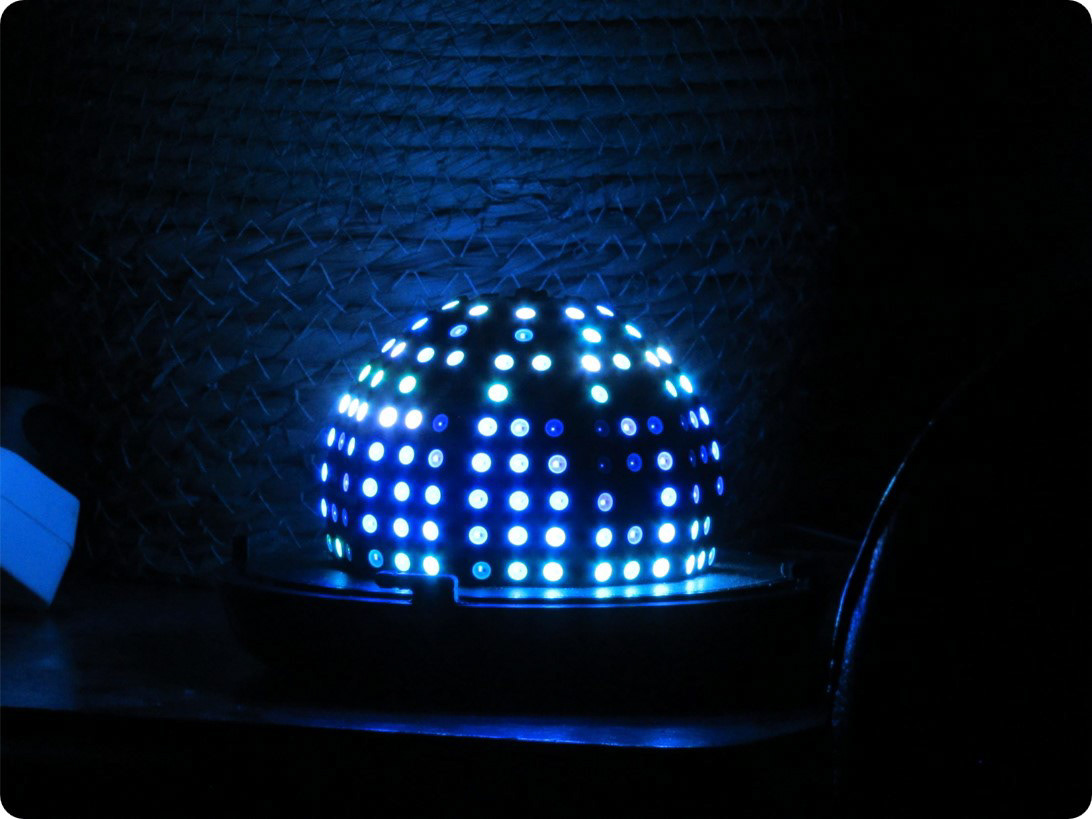
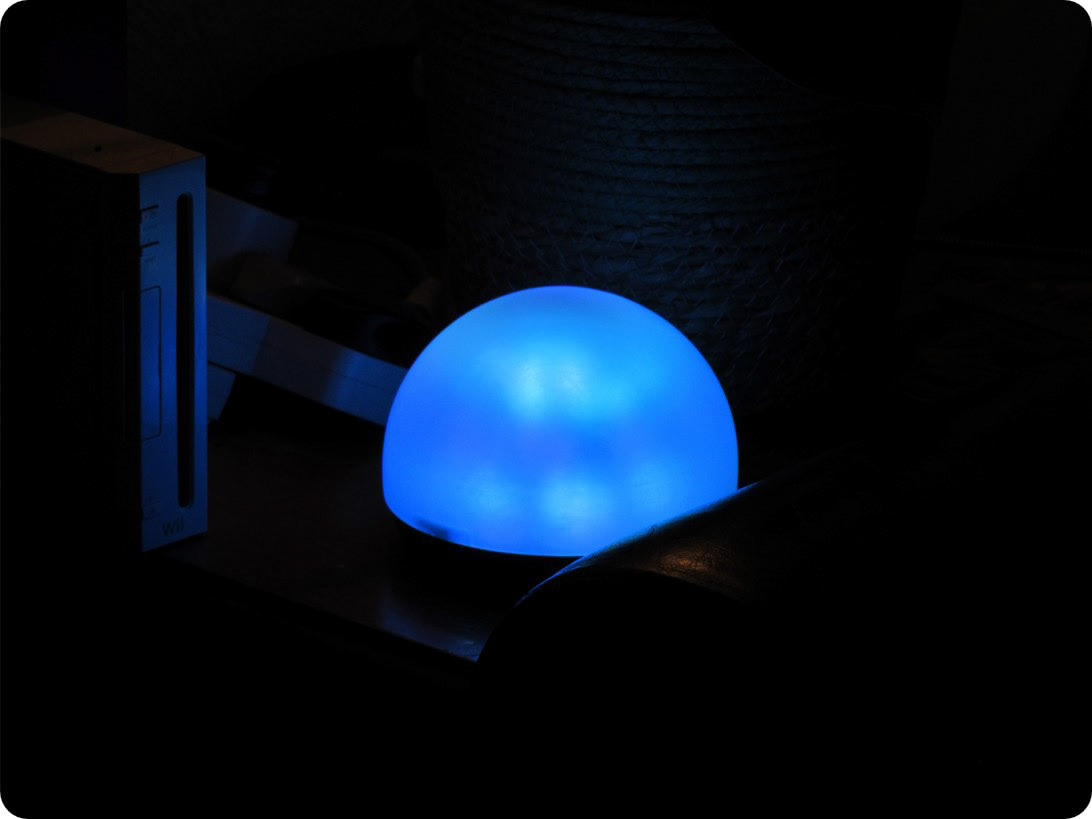
Here you can see some product shots of the illuminated display, along with an animation below showcasing the ambient fluid movements that it has been designed to produce.

I want to say a massive thank you for taking the time to look through this project in all its detail, please visit www.nathandesigns.uk to view more of my design work!
Thank you, Nathan!


